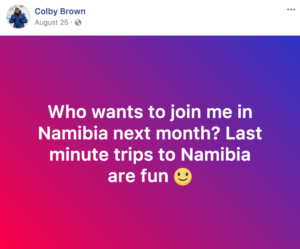
Last month, I spent two weeks in Namibia. It all started because of this Facebook post:
I met my friend Colby Brown at a Sony conference. Colby is a fellow photographer and Sony Artisan of Imagery, creating images and leading workshops all over the world. He also runs a humanitarian organization called The Giving Lens, and he’s got about 10 years on me in terms of experience and expertise in the photography world.
I saw Colby’s post and thought: well, I guess I should probably go to Namibia. I did some math, looked at my schedule, and booked a ticket within 24 hours. The next challenge? Plan a two-week photographic adventure in Namibia during high season on just a few weeks’ notice.
I’m no stranger to last-minute trip planning, but it helps to have experts on your team. We consulted with Chris McIntyre of Expert Africa for help with the details. Chris and the EA team were extremely helpful in their recommendations and feedback on our itinerary, especially when it came to creating an authentic experience with responsible travel in mind. Chris literally wrote the book on Namibia and I highly recommend his expertise to anyone who could use a hand planning a spectacular trip. Here is a ton of bookmark-worthy info about travel in Namibia on the Expert Africa site.
Before this trip, I honestly didn’t know much about Namibia. I knew it was vast and has a small population (2 million) relative to its massive size, and I had seen a few photos of its seemingly endless desert courtesy of my friend and fellow blogger Glo Atanmo… but I wasn’t prepared for the stunning landscape and fascinating culture I’d experience over the course of my two-week trip.
I hope this post gives you some helpful info and lots of inspiration to go experience Namibia for yourself!
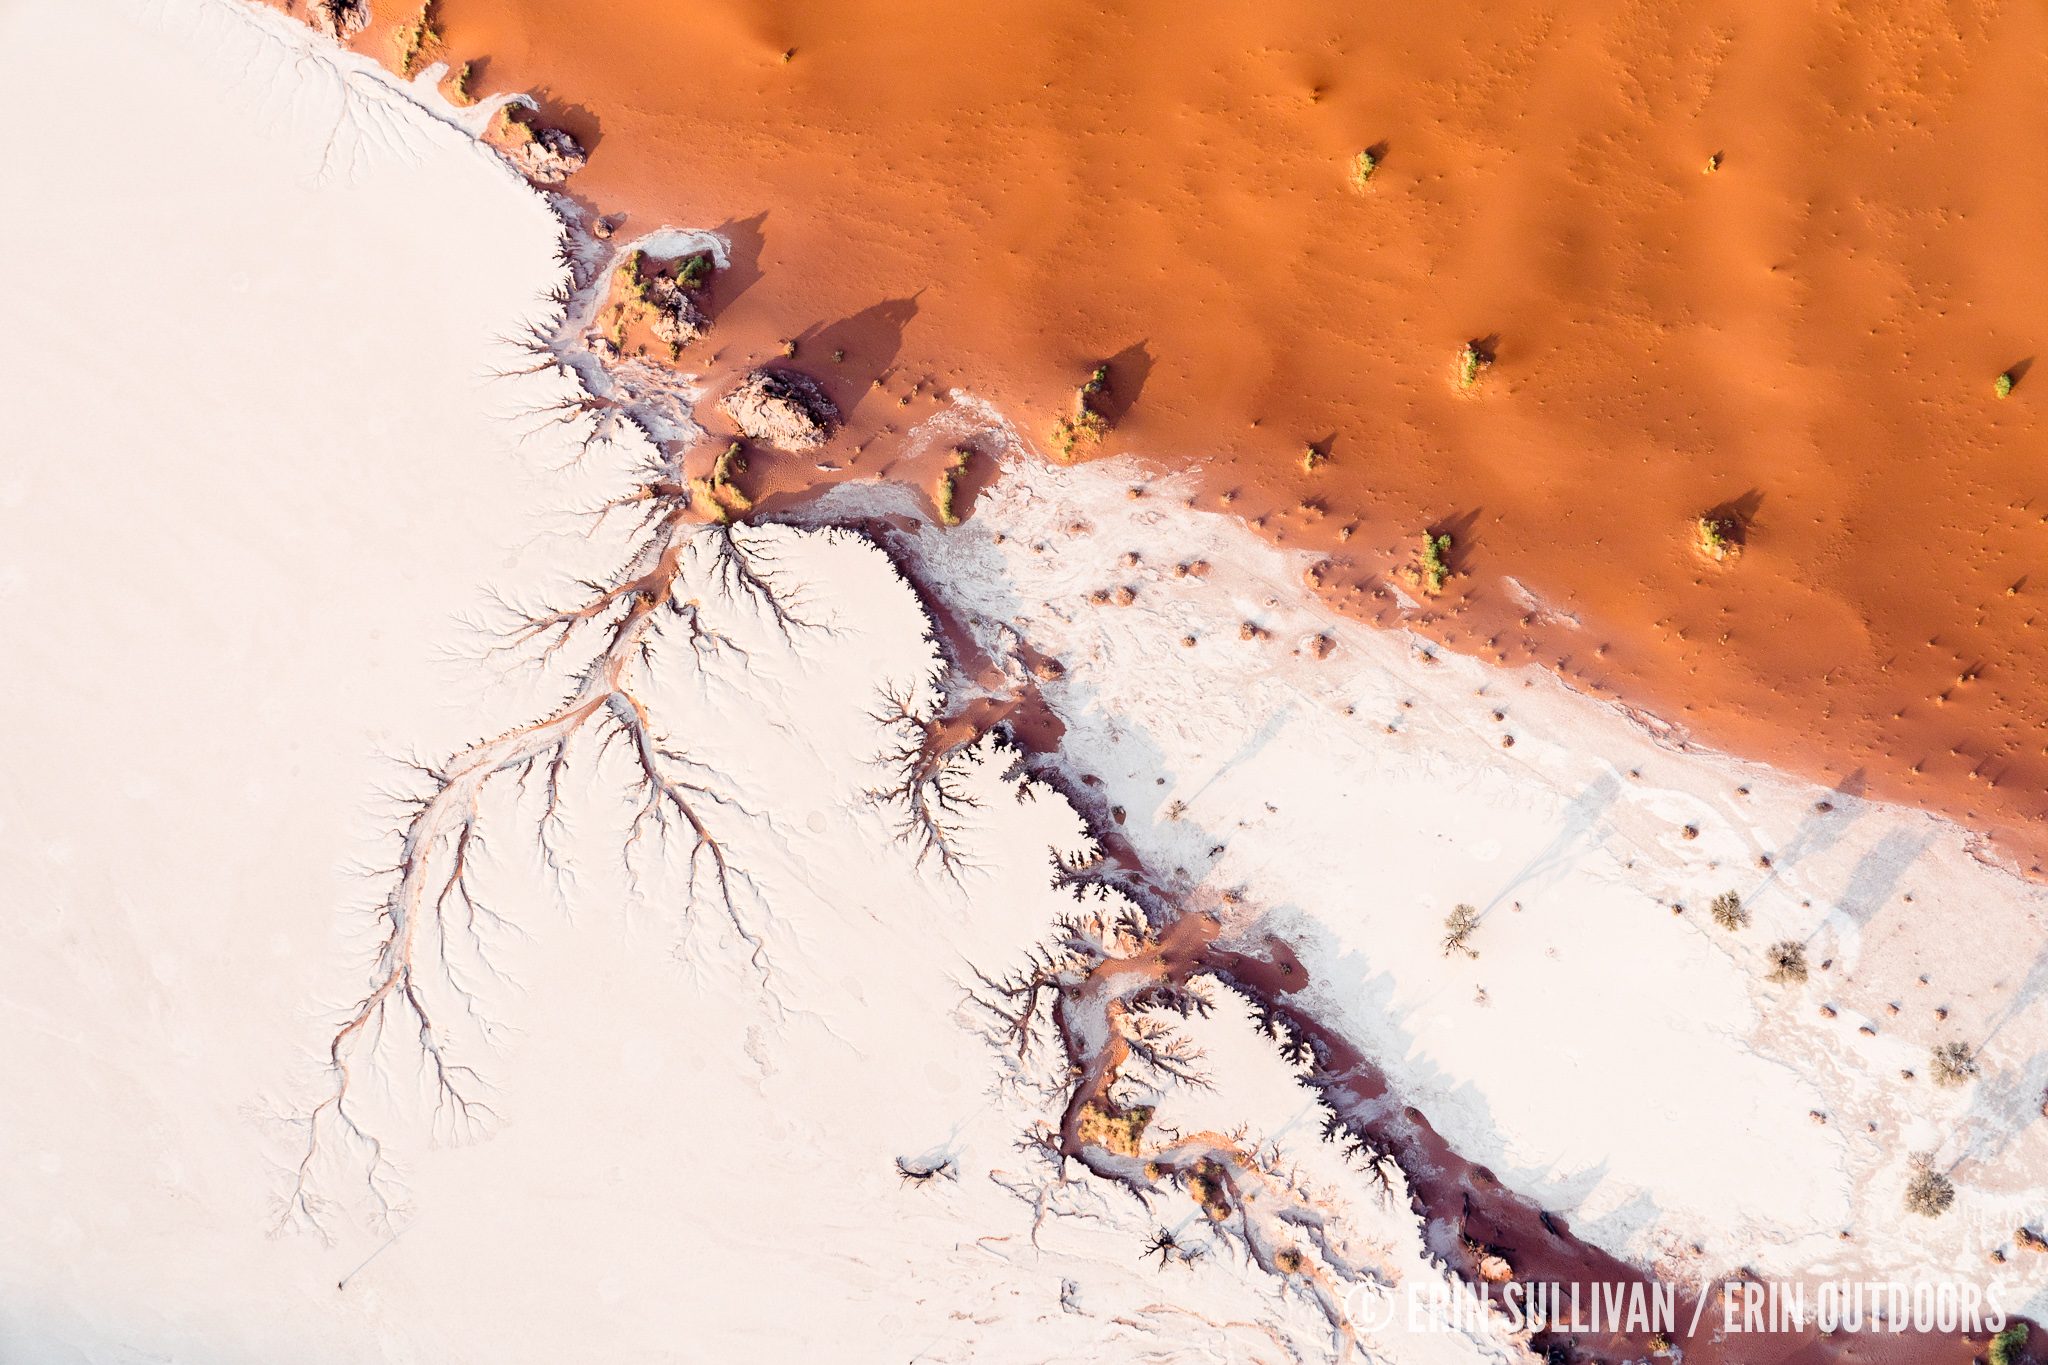
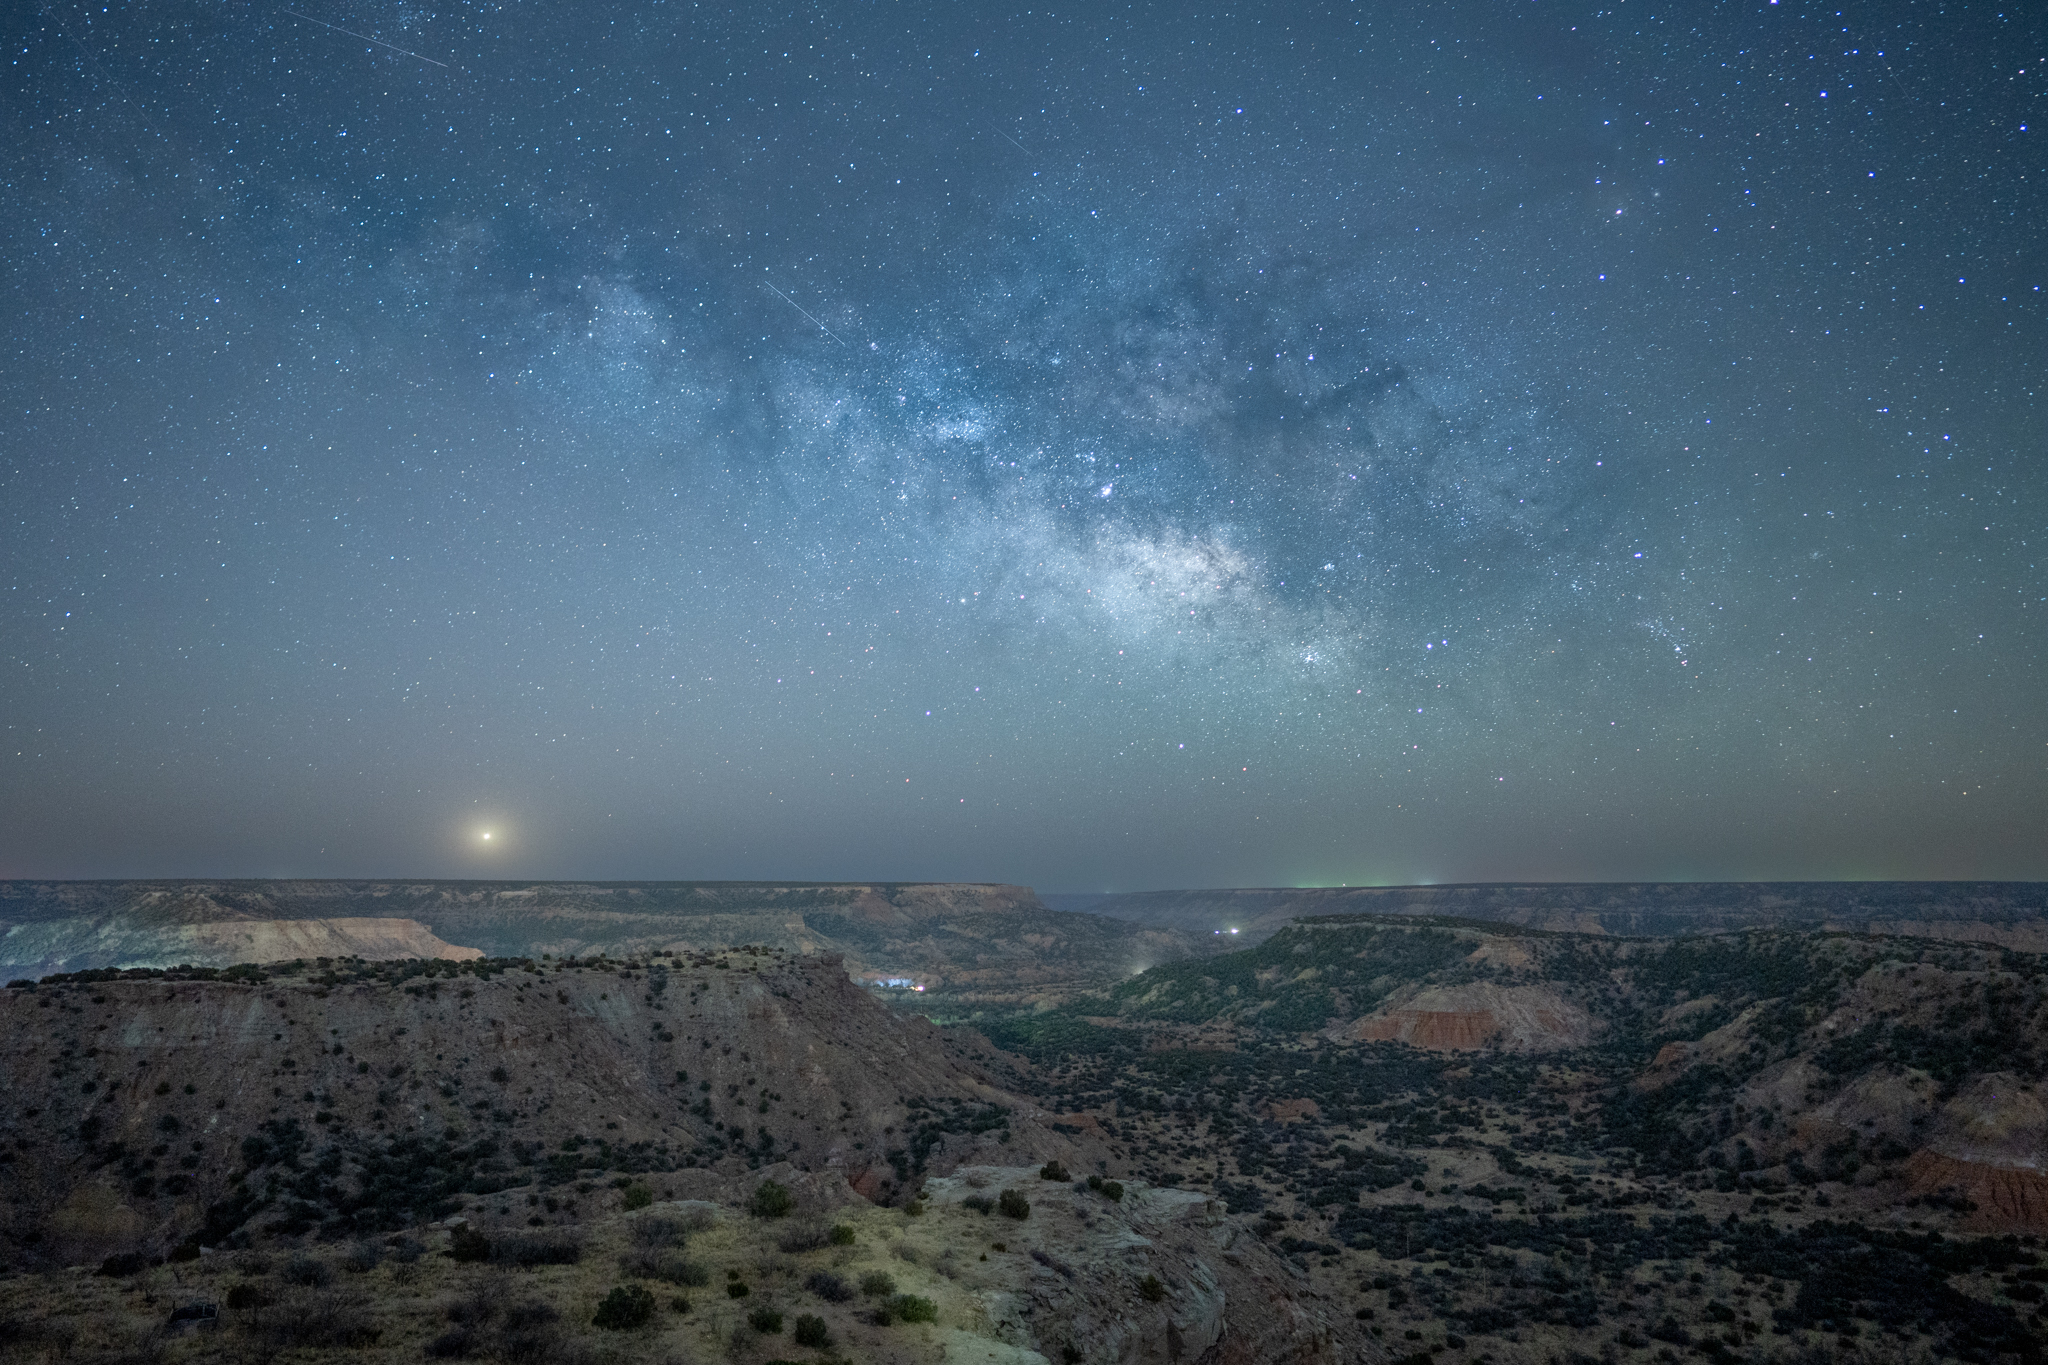
Mars or Namibia?
WHEN TO GO
Generally speaking, dry season (winter) is May to October, and wet season (summer) is October to April. If you want to see wildlife, it’s best to go during the dry season. Many of our guides said it that it’s harder to see wildlife in the rainy season because animals don’t necessarily need to go to a watering hole for water, plus there are more obstacles in your line of sight (i.e., lush vegetation). Keep in mind that Namibia’s dry season is also its high season for tourism, which means that you may want to book earlier than you normally would. We got lucky with a lot of our bookings, but had to be very flexible when it came to dates in case our first choice was booked. Of course, this was our fault… but maybe you won’t do things as last-minute as we did. 😛
Our trip spanned two weeks in the middle/end of September. It was generally quite hot (in the 90’s Fahrenheit) during the day, cooling down at night. In the southern parts of the country, it wasn’t as hot during the day (70’s and 80’s Fahrenheit), but still warm.
WHAT TO PACK
I travel frequently, and as a result, I can pretty much pack for a two week trip on command. For this trip, I swapped some items in my normal summer attire for more conservative (but lightweight) options. My denim shorts were replaced by lightweight pants, and I brought neutrals instead of bright colors. For shoes, I brought my Blundstone boots and a pair of comfortable sandals–– these were more than enough. I brought a sweatshirt and my Cotopaxi Kusa Bomber for cooler nights and mornings.
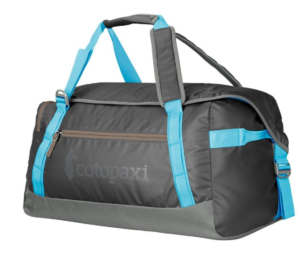
In terms of luggage, I recommend a soft-sided duffel rather than a hard-shell suitcase for easy loading when it comes to safari-style travel. I brought my Cotopaxi 50L Roca Duffel because it’s water resistant and durable. I also brought my LowePro 500 AW II as my camera bag, and my Ubuntu Made Canvas Tote for items I wanted easily accessible during the day.
Generally speaking, if you forget something, you can probably buy it in Windhoek. But preferably you’ll remember whatever you forgot before heading into the bush. 😉
OUR ITINERARY
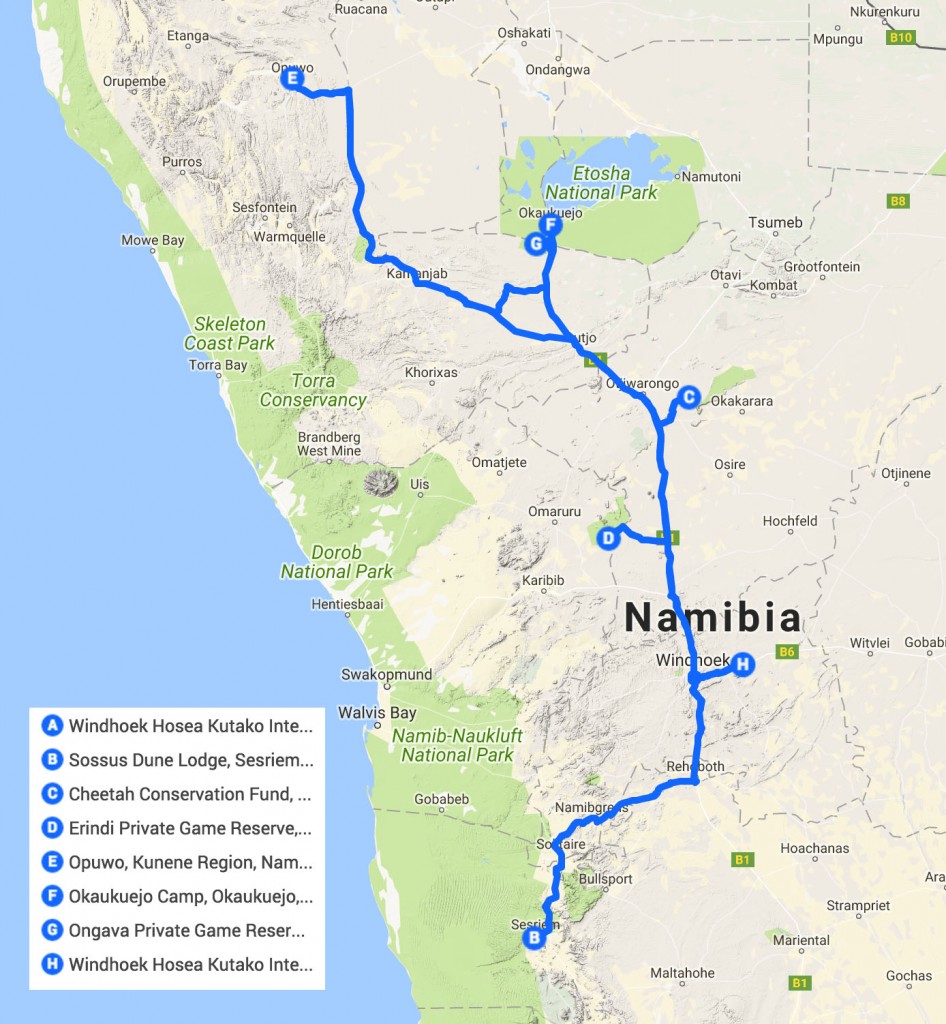
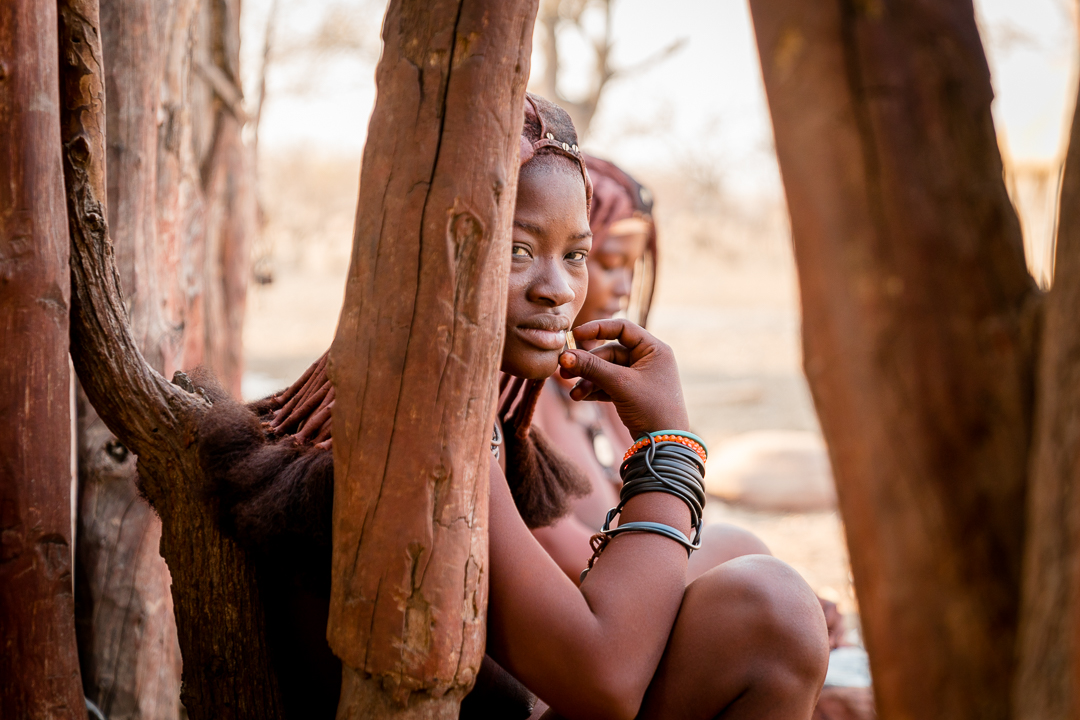
Namibia is a large country full of amazing sights, and the distances between the things you’ll probably want to see are far. Unless you have endless time, you will probably have to make choices on what you want to see. Our top priorities were wildlife photography, the sand dunes of Sossusvlei, and spending time with the Himba people, so that’s what our itinerary reflects.
Our options were to try to cover more places (and therefore drive more), or spend more time in fewer places and drive less. We opted for the latter. We didn’t want to feel rushed, and as photographers, we wanted to have plenty of time to get the shots we were looking for.
A note about cars: For this itinerary, a 4×4 was an absolute must. The parts of the trip that required the 4×4 were the last 5km to Dead Vlei, and the drive out from Opuwo to camp with the Himba. Other than that, the roads were excellent and 4×4 was not required. We rented a double-cab truck and it worked great.
Day 1: Arrive Windhoek airport, drive to Sossusvlei (drive time 5h 40min)
We arrived, picked up our rental car, snacks and water (get a lot, it’s dry out there), and headed south. Our goal was to get to the dunes–– we had a sunrise helicopter flight booked for Day 2.
Days 2 & 3: Sossusvlei
In Sossusvlei, we stayed at the Sossus Dune Lodge (operated by NWR), the only hotel inside the gates of the park, and the place you must stay if you would like access to the dunes at sunrise or sunset and don’t want to camp. The exception to this is camping at Sesriem Campsite, which allows you to enter the park 1hr before sunrise if you stay overnight. There are a handful of other nice spots to stay outside the park, but the gates are closed between sunset and sunrise, so if you’re a photographer and good light matters, do yourself a favor and book the Sossus Dune Lodge. It’s expensive, but this is your only option to be in the park at sunrise/sunset.
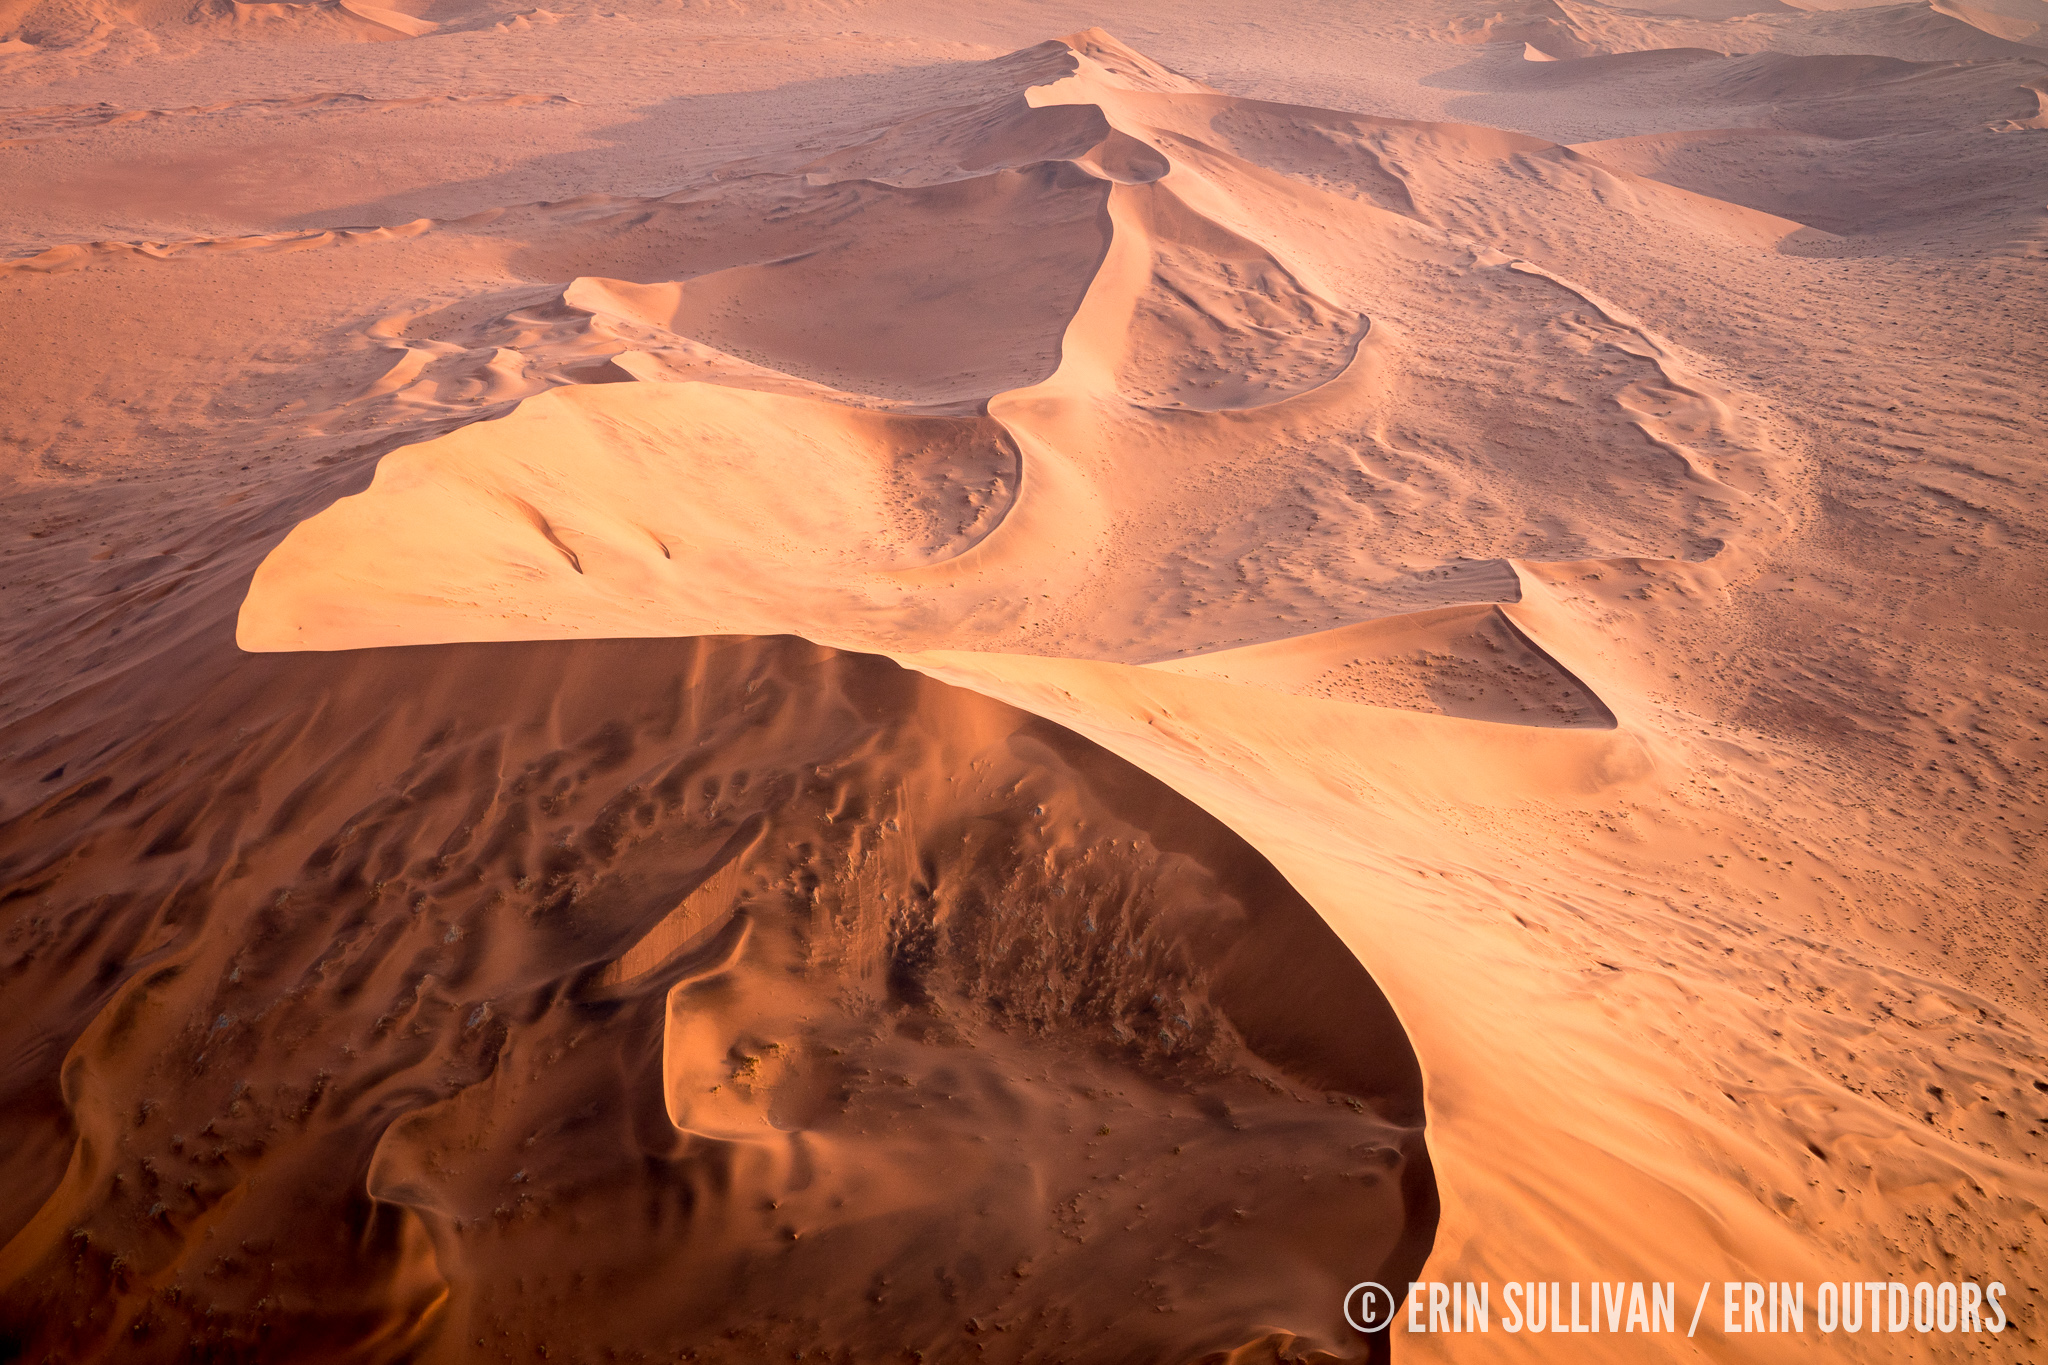
My first impression of the dunes was from above, and holy crap, what a unique and spectacular landscape! The colors that appeared as the sun came over the horizon were gorgeous reds, oranges and purples, and the different shapes the dunes formed were nothing short of art. I highly recommend a doors off helicopter flight if you are able. We booked through the adventure center at the Sossusvlei Lodge.
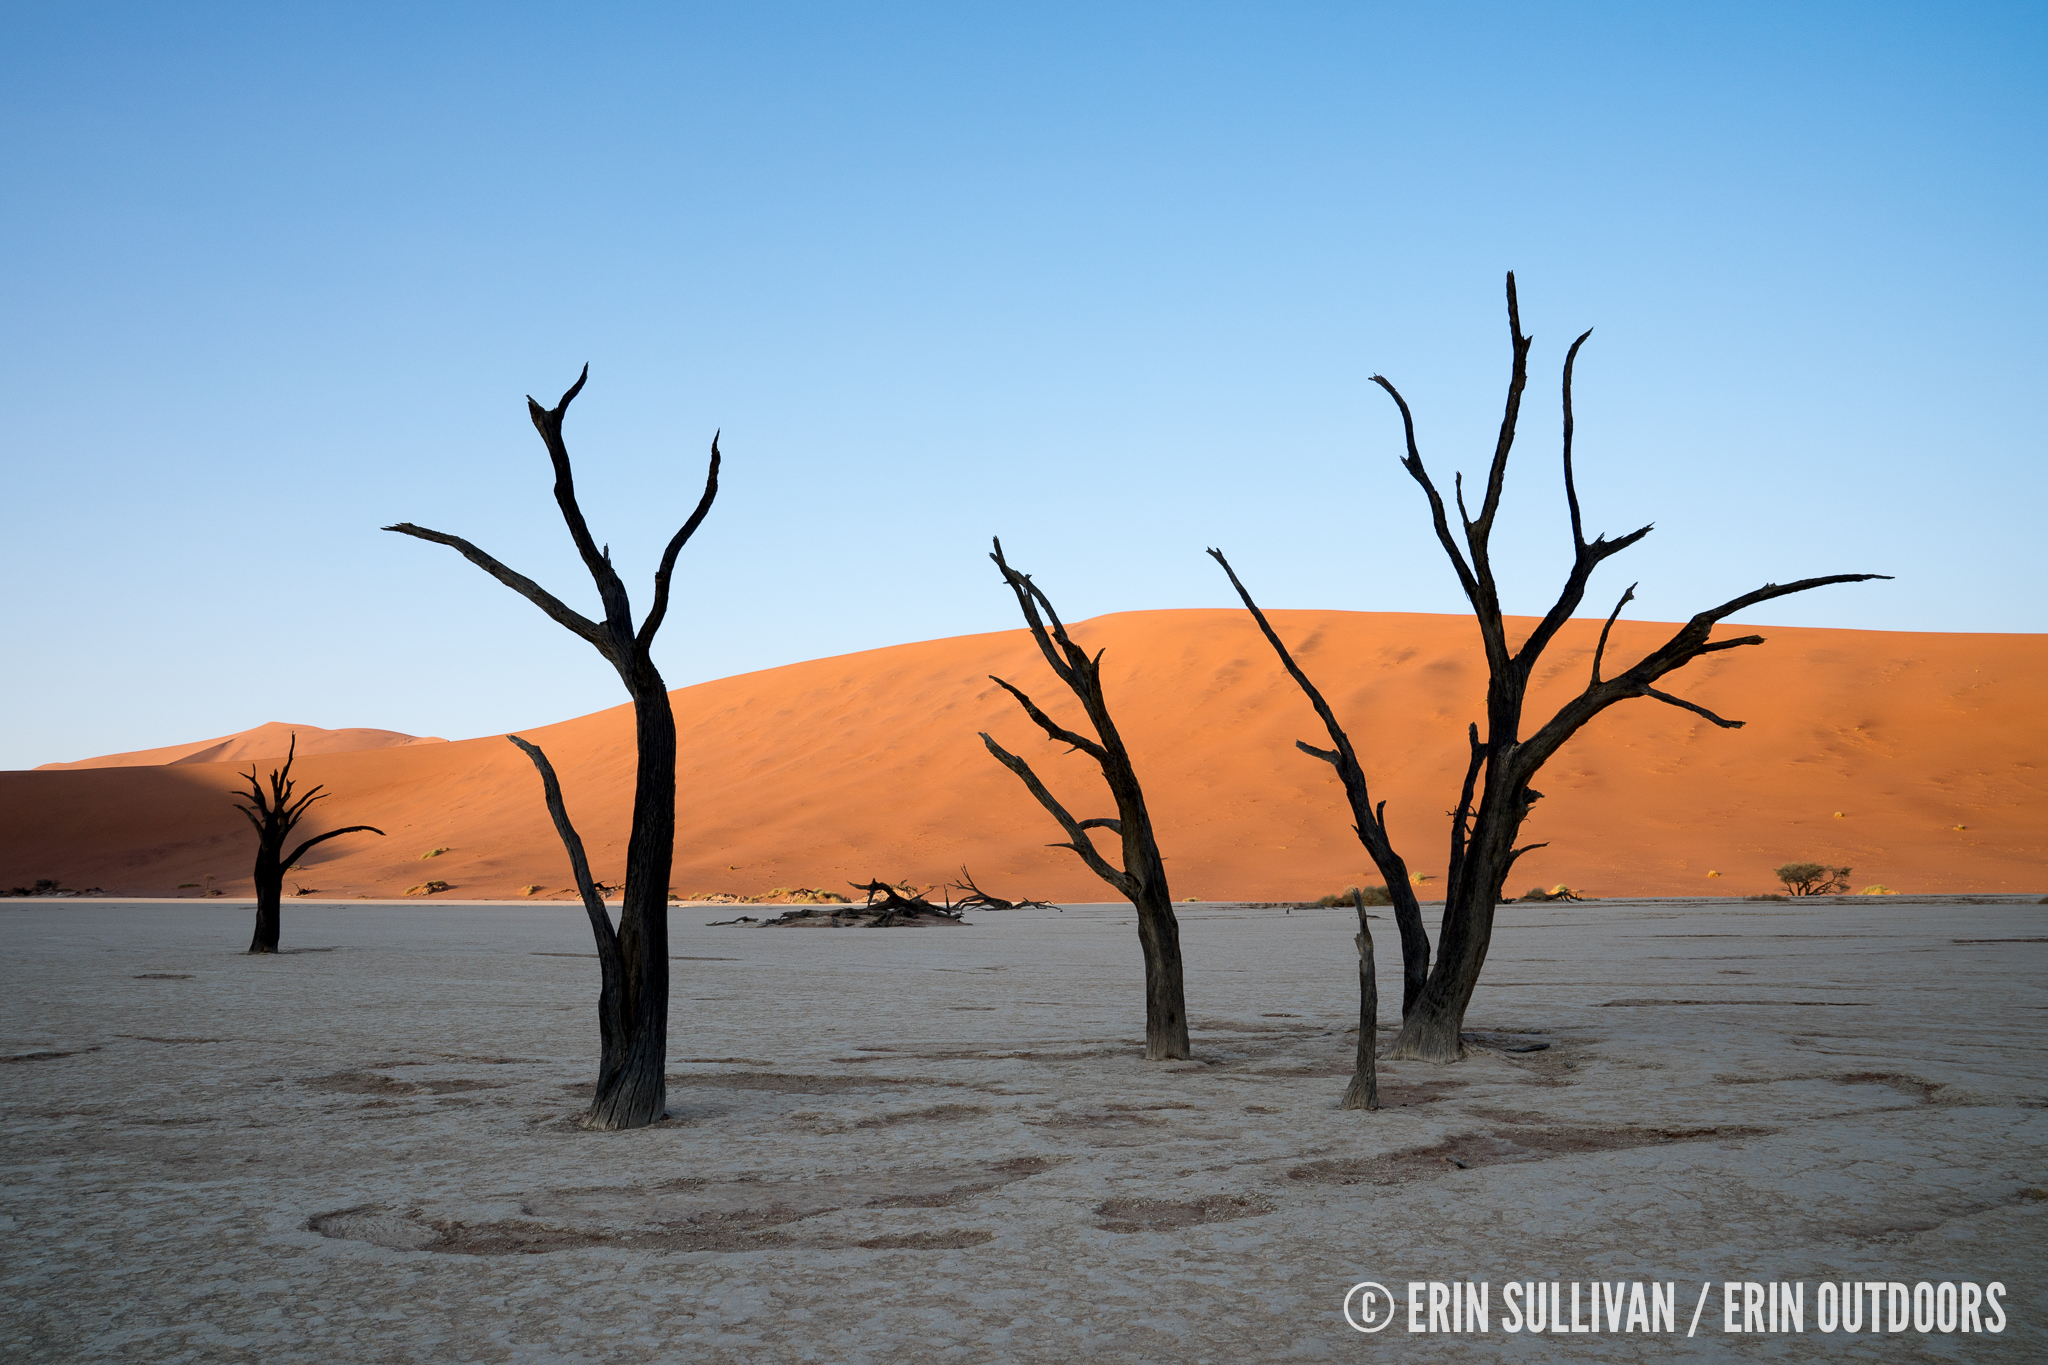
We spent another sunrise exploring Dead Vlei, a very interesting and alien-like desert-scape consisting of dead trees scattered among a dry clay flat, surrounded by orange dunes. It was definitely worth being there at sunrise to watch the way the light played on the dunes as the sun came up. Note that you need a 4×4 to drive the last 5km to Dead Vlei, but there was a vehicle that left with some of the other folks who were staying at the Sossus Dune Lodge, so this is an option if you don’t end up renting a 4×4. Definitely do confirm this with them in advance though.
Our sunsets were spent driving the road towards Dead Vlei, stopping to photograph whichever dune seemed interesting… which was… well, lots of them, obviously.
Days 4 & 5: Erindi Private Game Reserve (drive time from Sossusvlei 7h 17min)
We woke up early for the long drive and checked in to Old Trader’s Lodge at Erindi Private Game Reserve in the afternoon. We headed for lunch on the incredible deck overlooking a large watering hole, where we were greeted by a herd of elephants. So cool! We ate all of our meals on the deck, and also found it to be a great place to do quick edits of the (many) images we captured while on the Reserve.
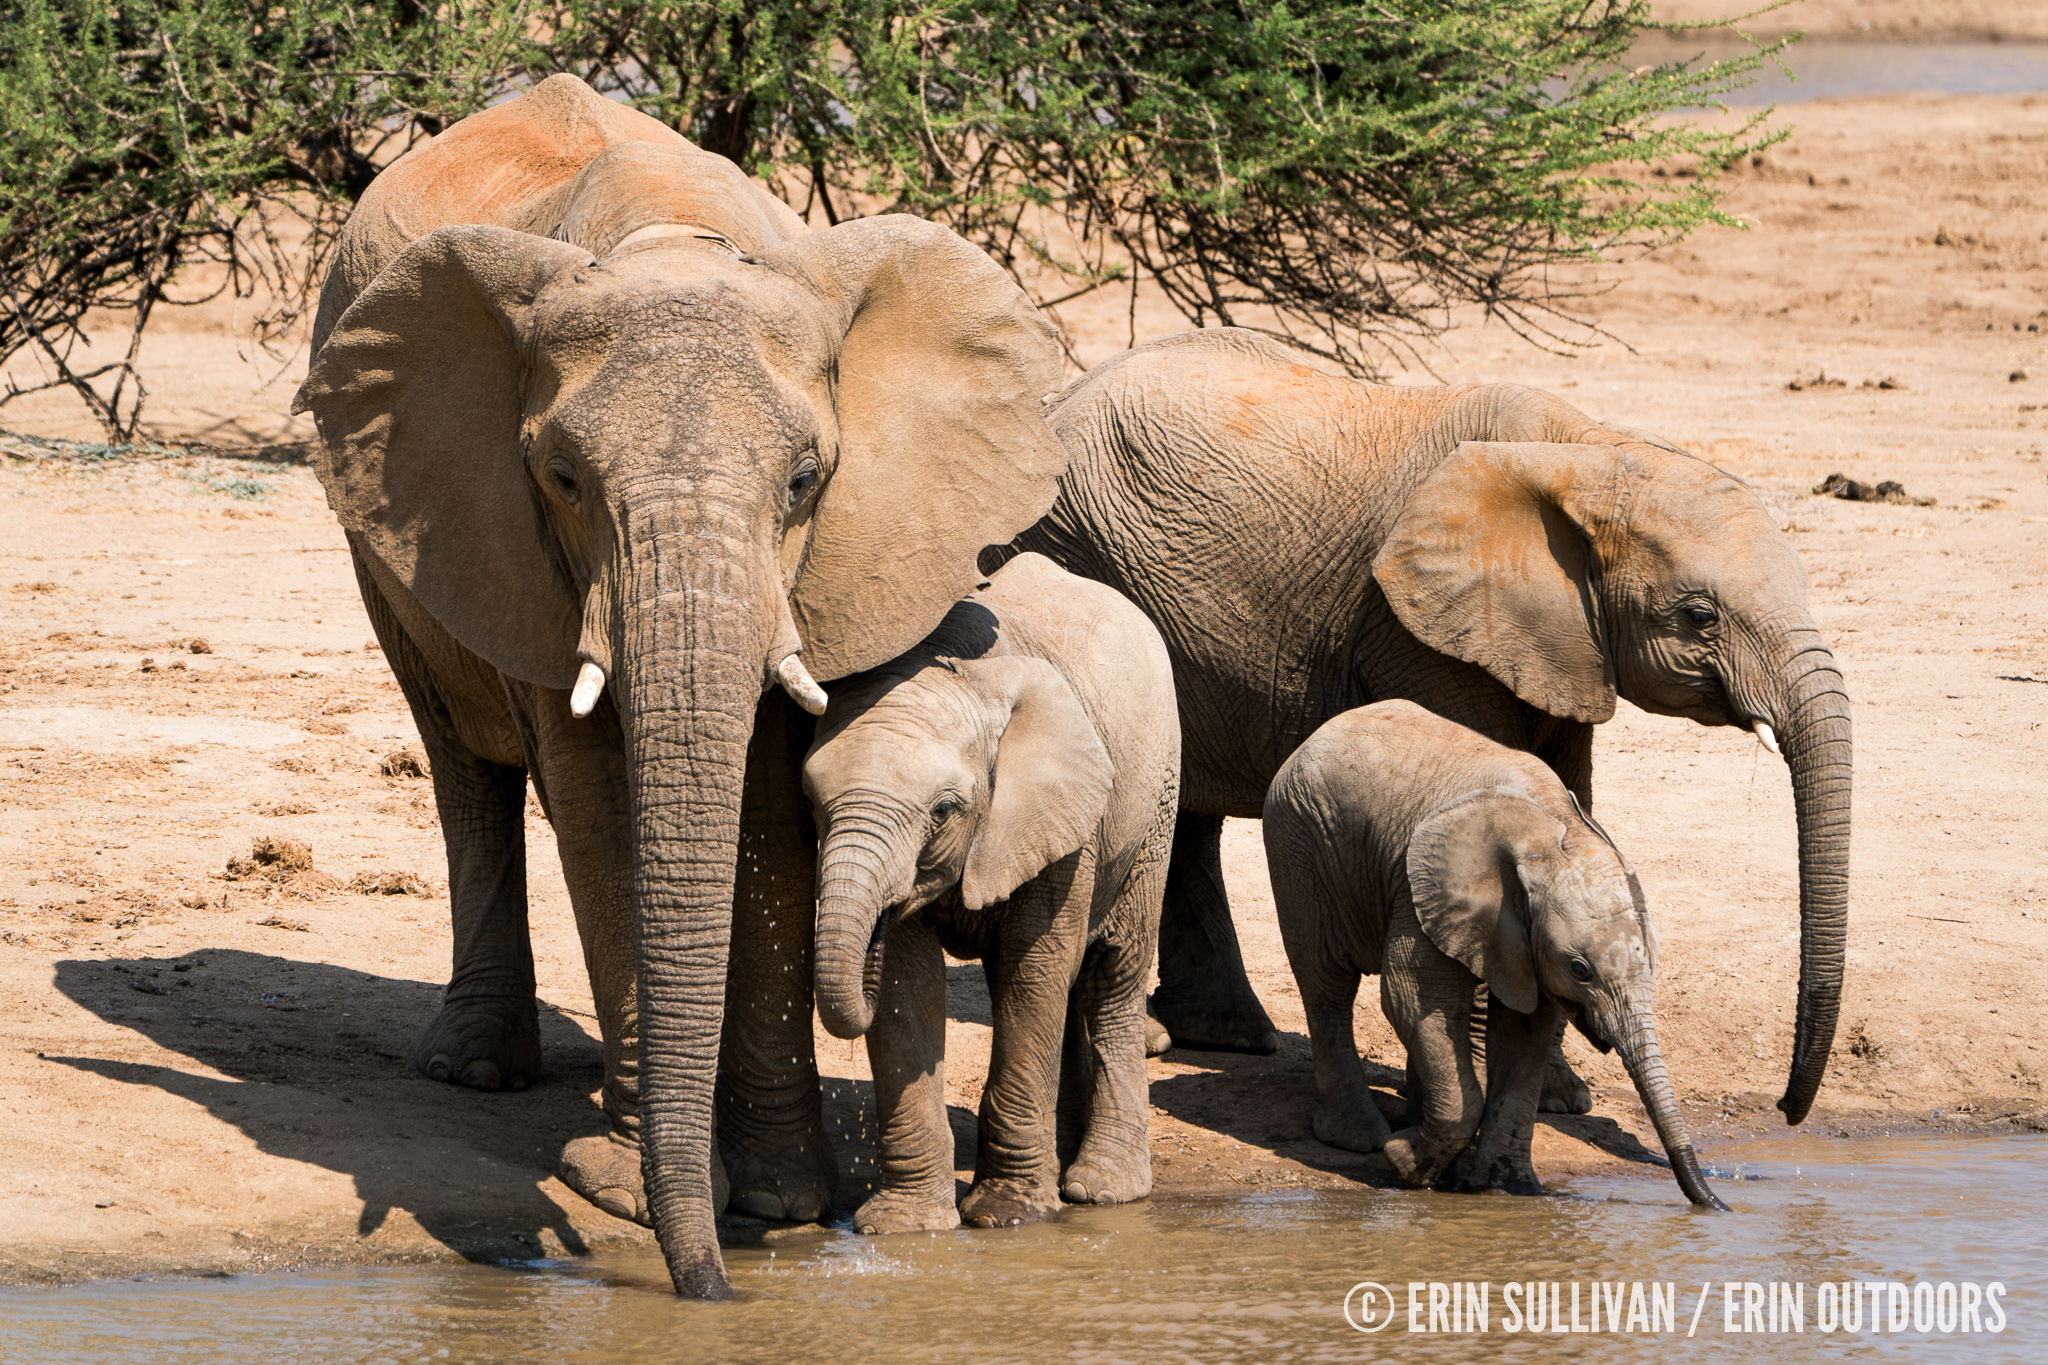
We spent two full days at Erindi, and our guide Warren ensured our morning and evening game drives were excellent. Warren was extremely knowledgeable about all of the animals we saw. We had a great time with him!
Day 6: Cheetah Conservation Fund (drive time from Erindi 2h 30min)
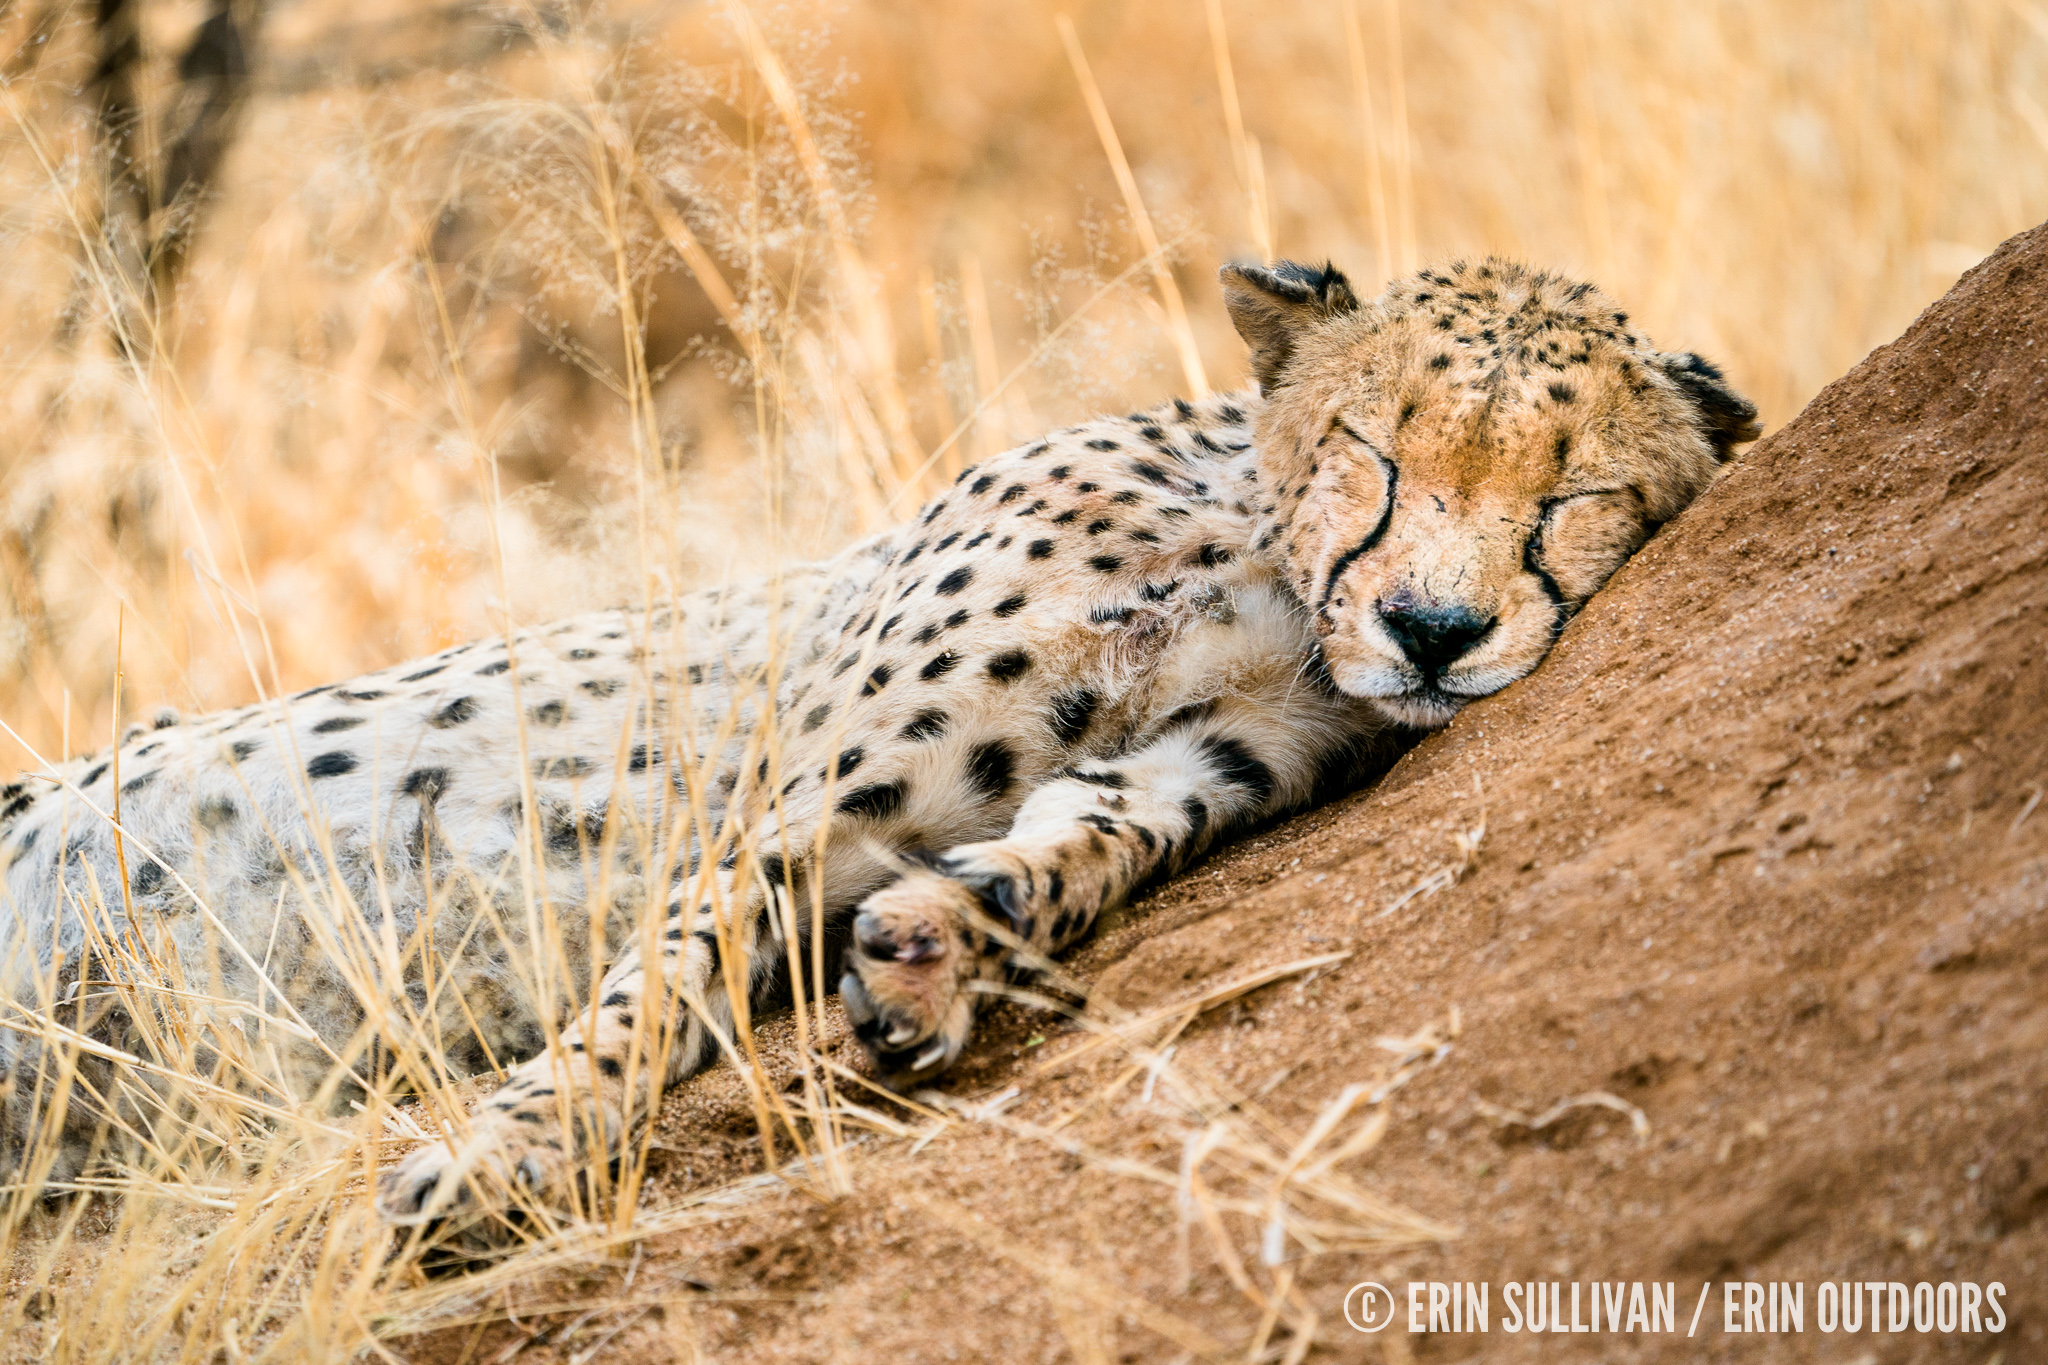
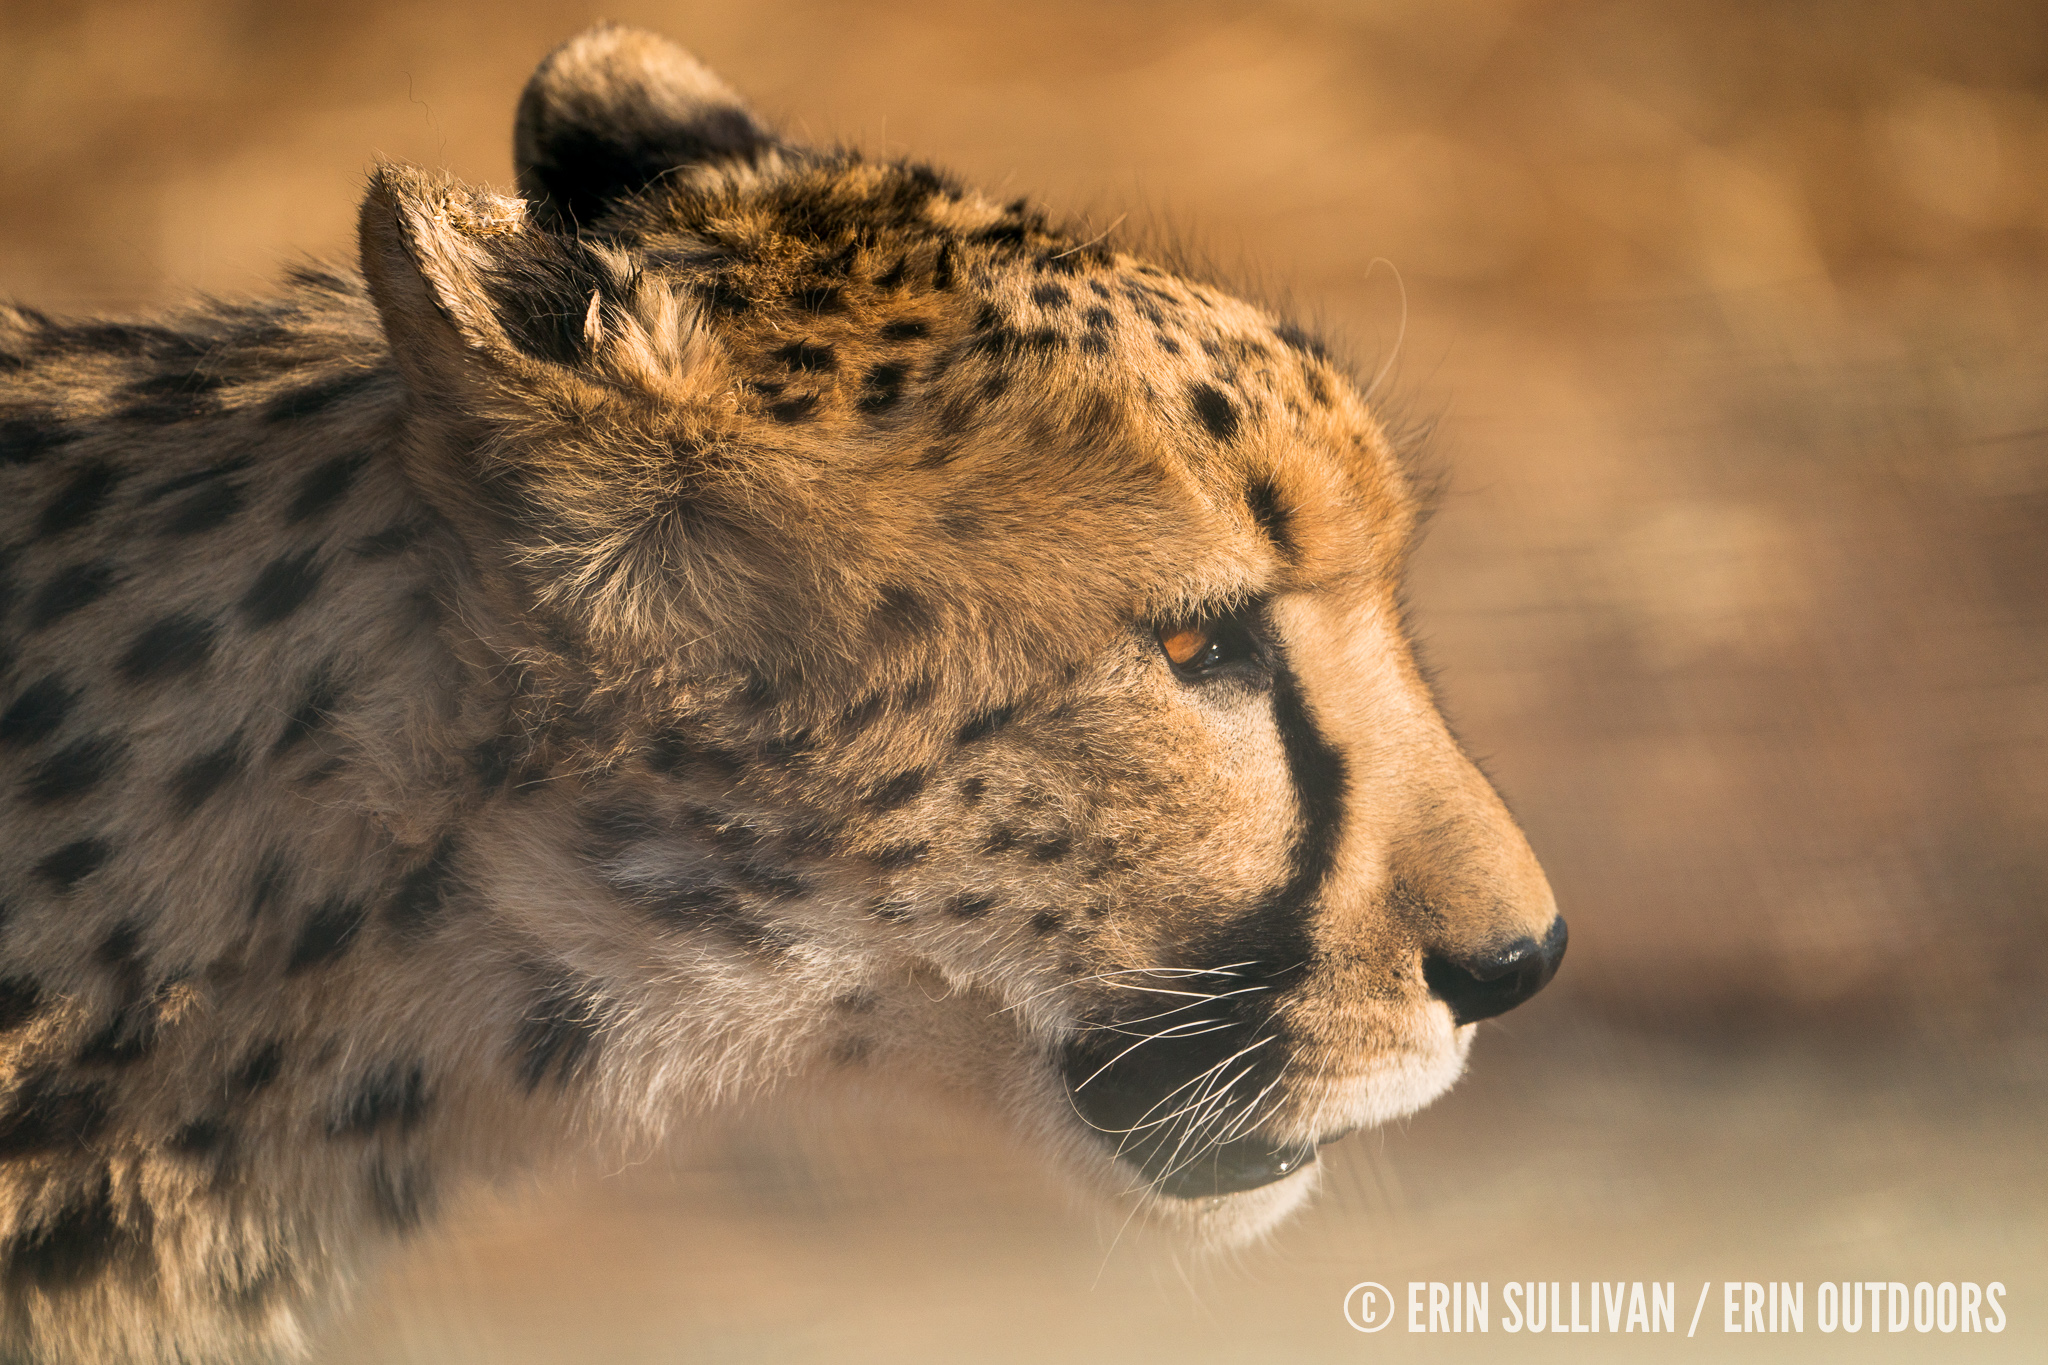
After our last game drive at Erindi, we drove to the Cheetah Conservation Fund and stayed at their new Cheetah View Lodge. In the morning, we watched the CCF staff run the cheetahs and did the behind-the-scenes activity they offer as well. It was great to learn about some of the programs the CCF is doing to protect the species. Worth a stop.
Days 7 & 8: Camping with the Himba outside of Opuwo (drive time 6h 48min to Opuwo, then 1-3 hours to a village depending on where you go)
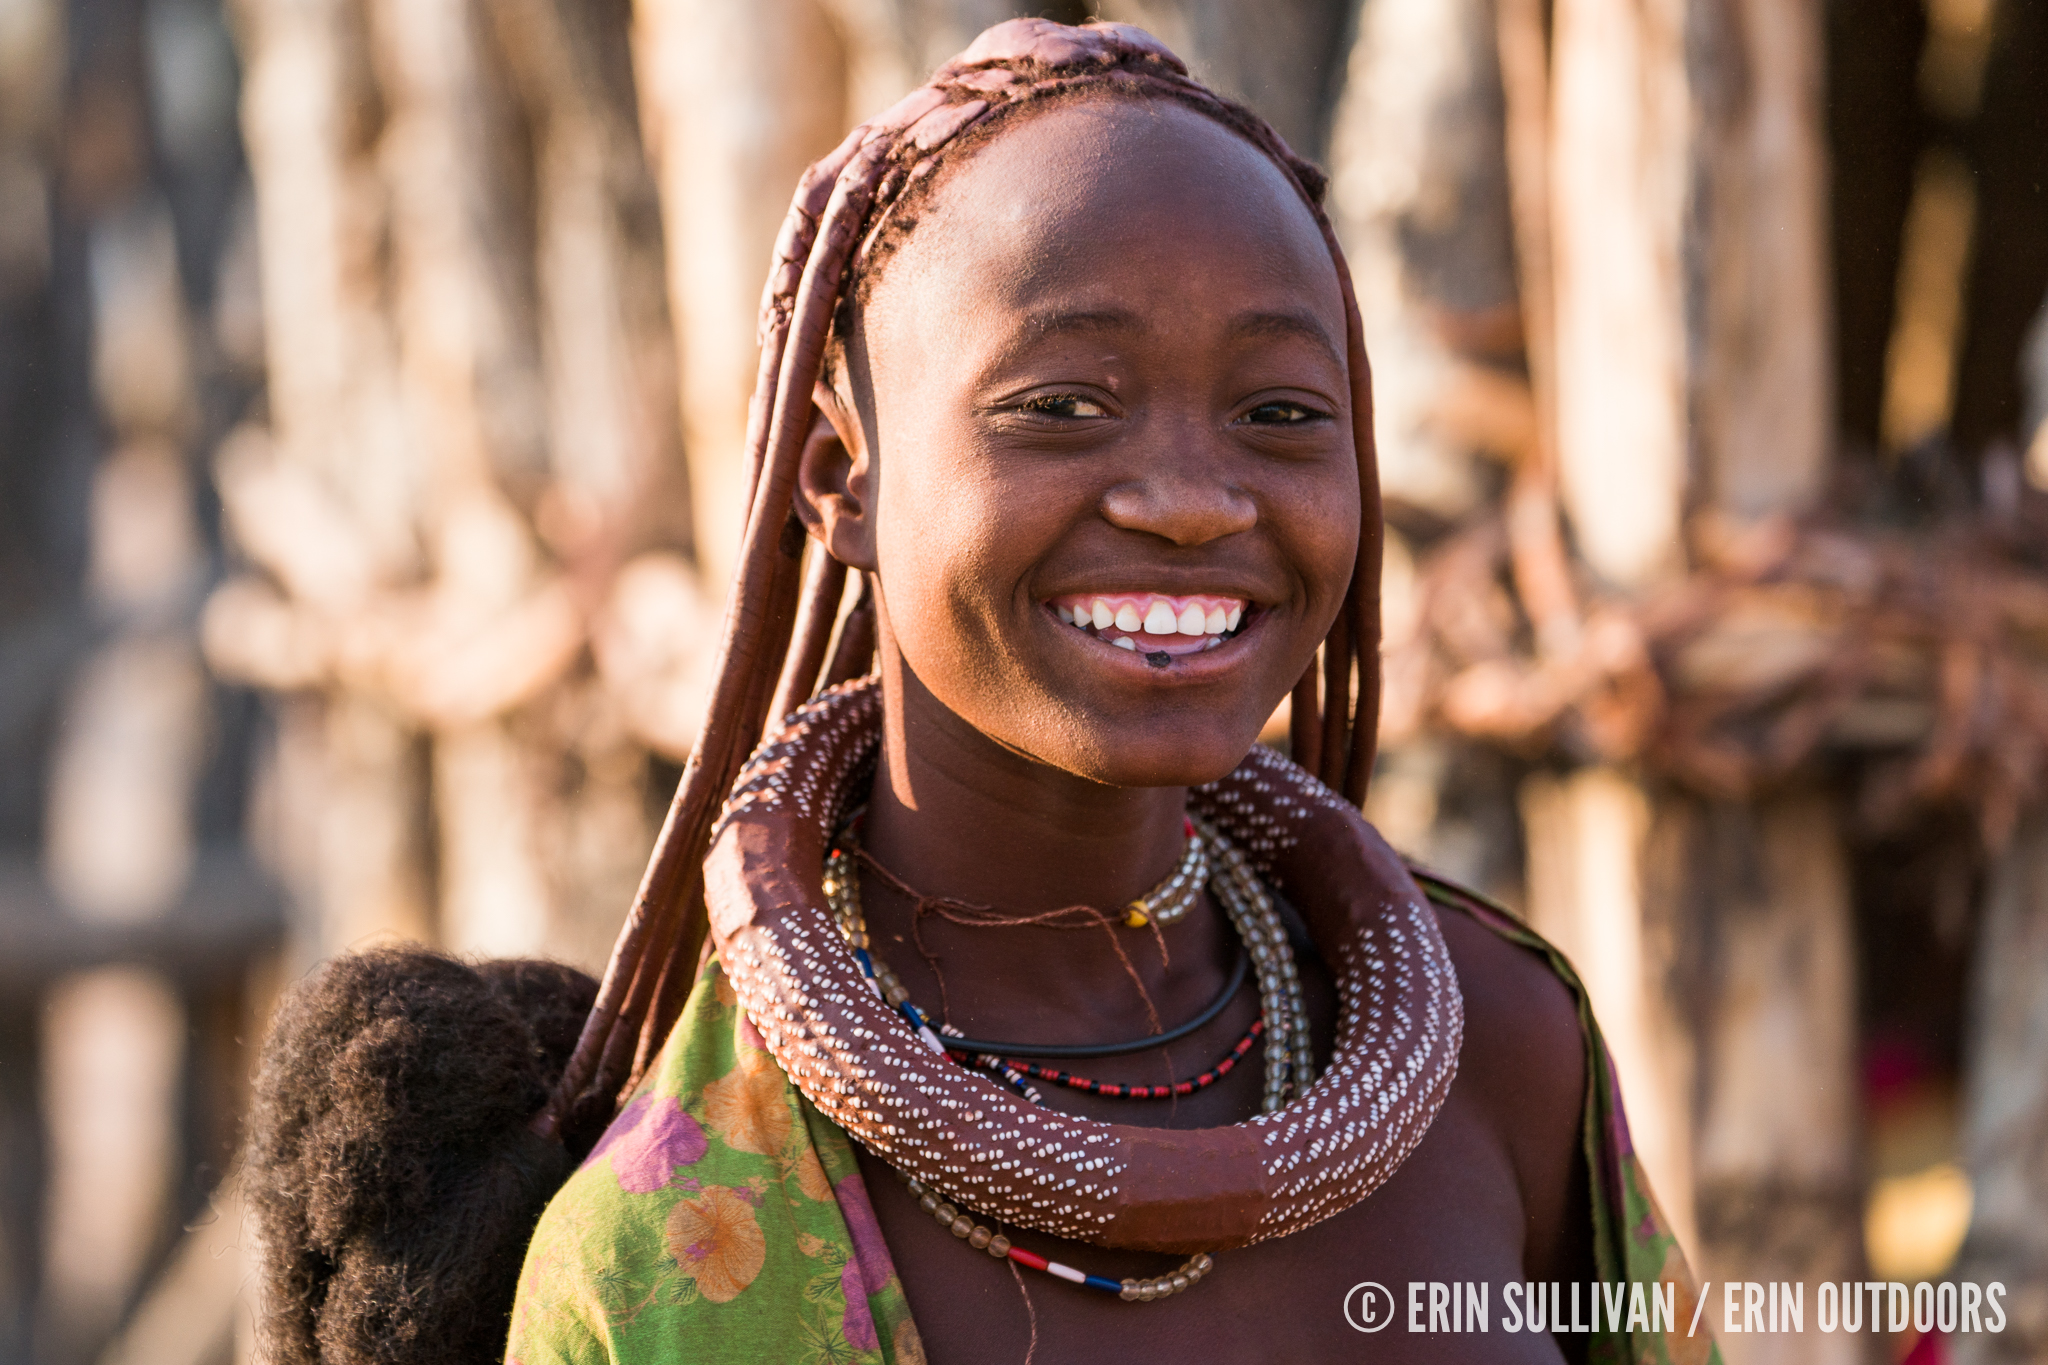
Through a contact we through a friend, we were able to hire a guide in Opuwo and spend a couple of days with a Himba village. This was a wonderful experience and I highly recommend it. There is a lot to unpack here regarding visiting the tribe in a respectful and responsible manner, and I’ll write a longer blog post to discuss this.
The main points? Don’t be the tourists that show up bringing no gifts, take photos for five minutes, and leave. Hire a guide/company who contributes (do the research!), buy staple items the village needs and/or make a monetary donation, be inquisitive and ask questions, and always ask permission before taking photos of people. Put respect above all else. If you’d like to see more photos from our experience, as well as more information on many of the people I photographed, I posted an album on my Facebook page here.
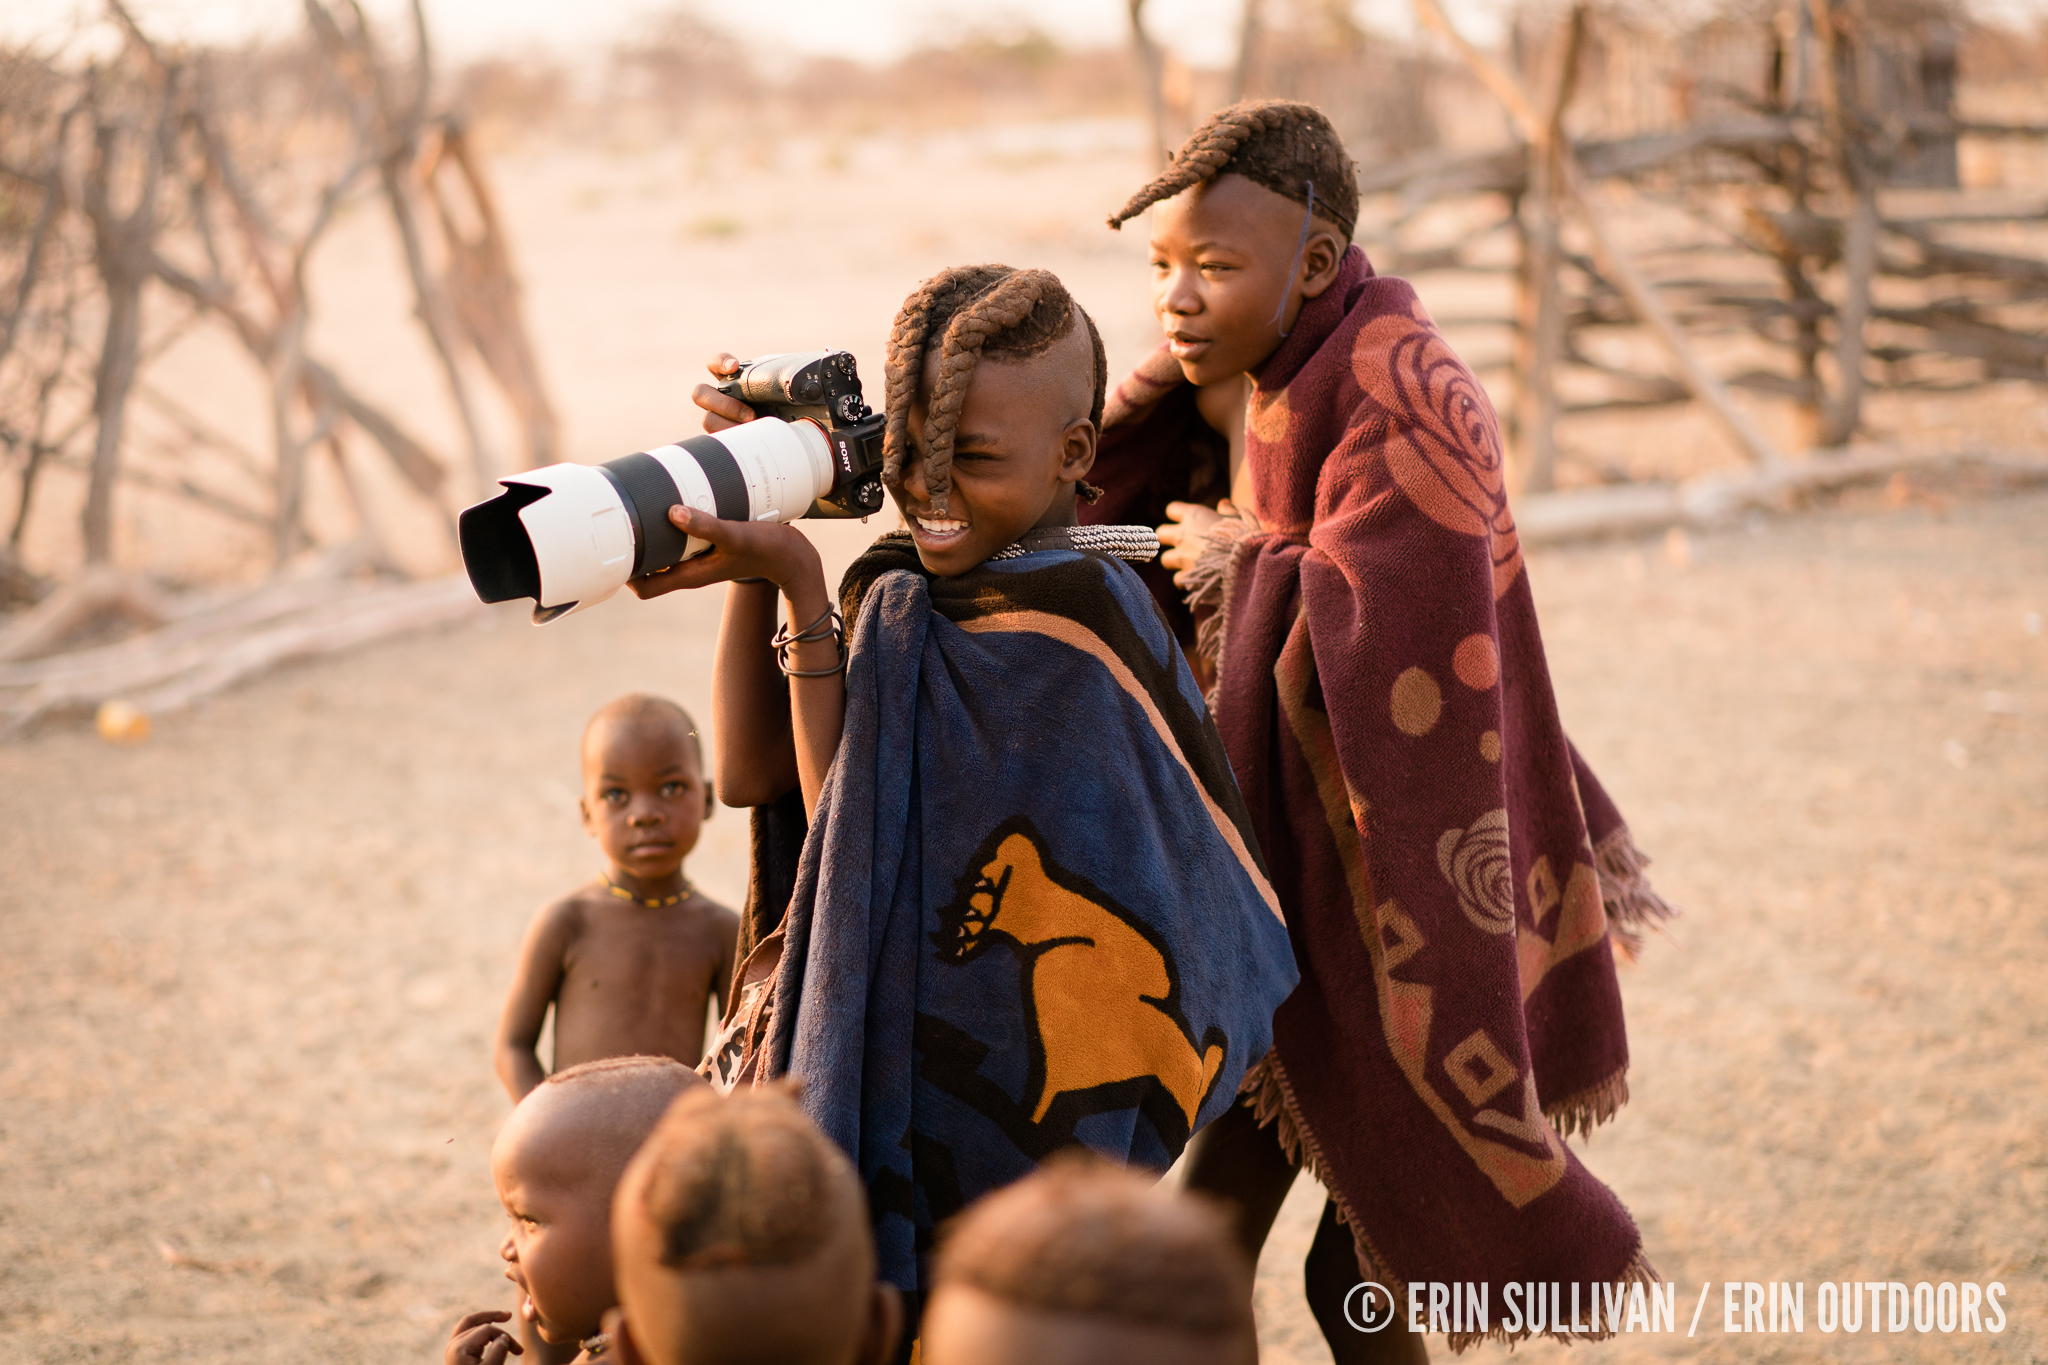
Some of the kids in the village playing with our cameras 🙂
Days 9 & 10: Okuakuejo Camp at Etosha National Park (drive time from Opowu approx. 5h)
Etosha National Park is on everyone’s list, and for good reason. The park covers over 20,000 square km, and with a self-drive option, you can explore on your own or opt to join a drive with a guide. We decided to take our chances and drive ourselves, but we were not disappointed. Within our first half hour of driving in the park, we came across three male lions walking along the road. Once they moved into the bush, I captured this image, one of my favorites from the trip.
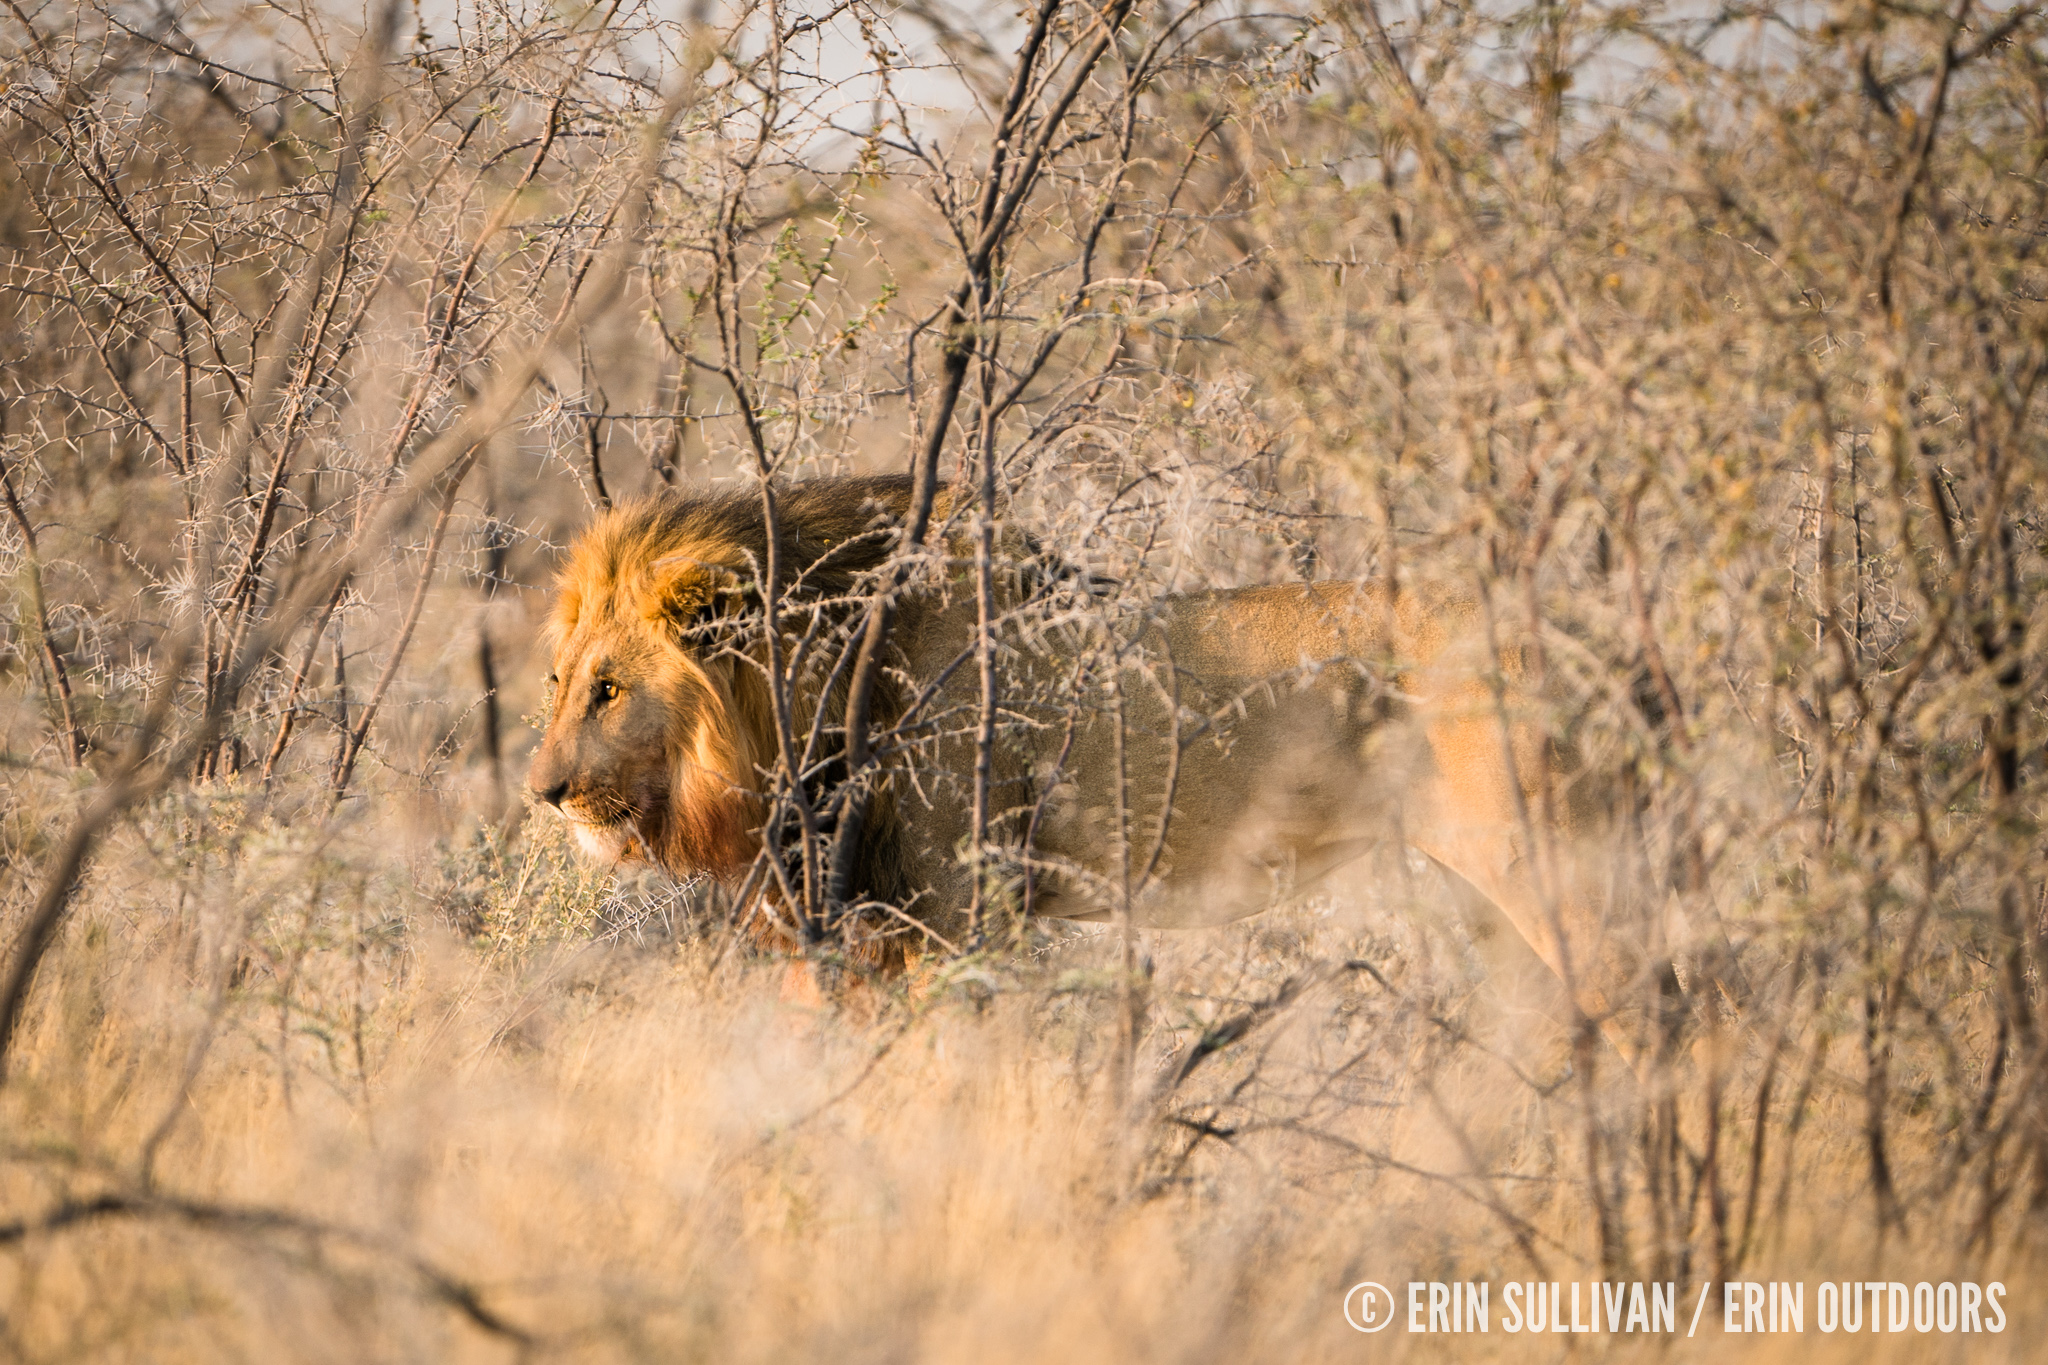
The perhaps obvious drawback of Etosha is that it does feel a bit like an amusement park at times because of the self-drive aspect. Cars and safari vehicles pack into a small spot to catch a glimpse of the wildlife–– it’s anything but private. If you’re after a more serene wildlife viewing experience, a private game reserve is worthy of a splurge.
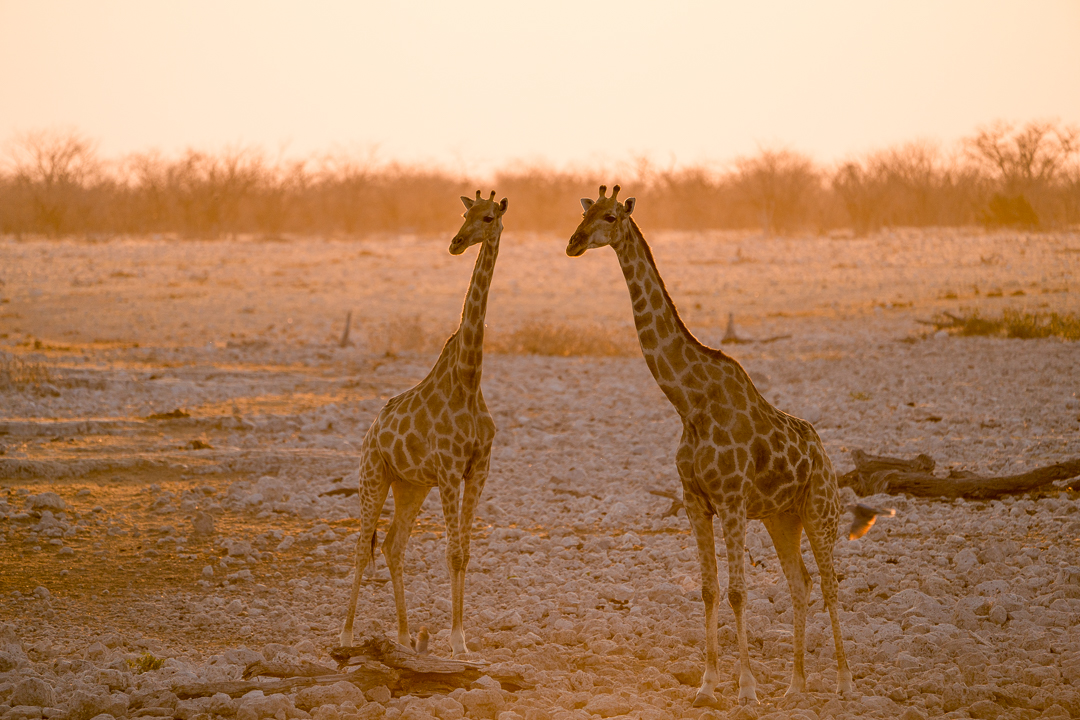
In Etosha, we stayed at Okuakuejo Resort, another NWR property like the Sossus Dune Lodge. It seems to be pretty unanimous that this is the place to stay in Etosha if you can. It’s got a pretty stunning watering hole where we watched a couple of gorgeous sunsets. Here’s a shot from our second night–– we could not have asked for more!
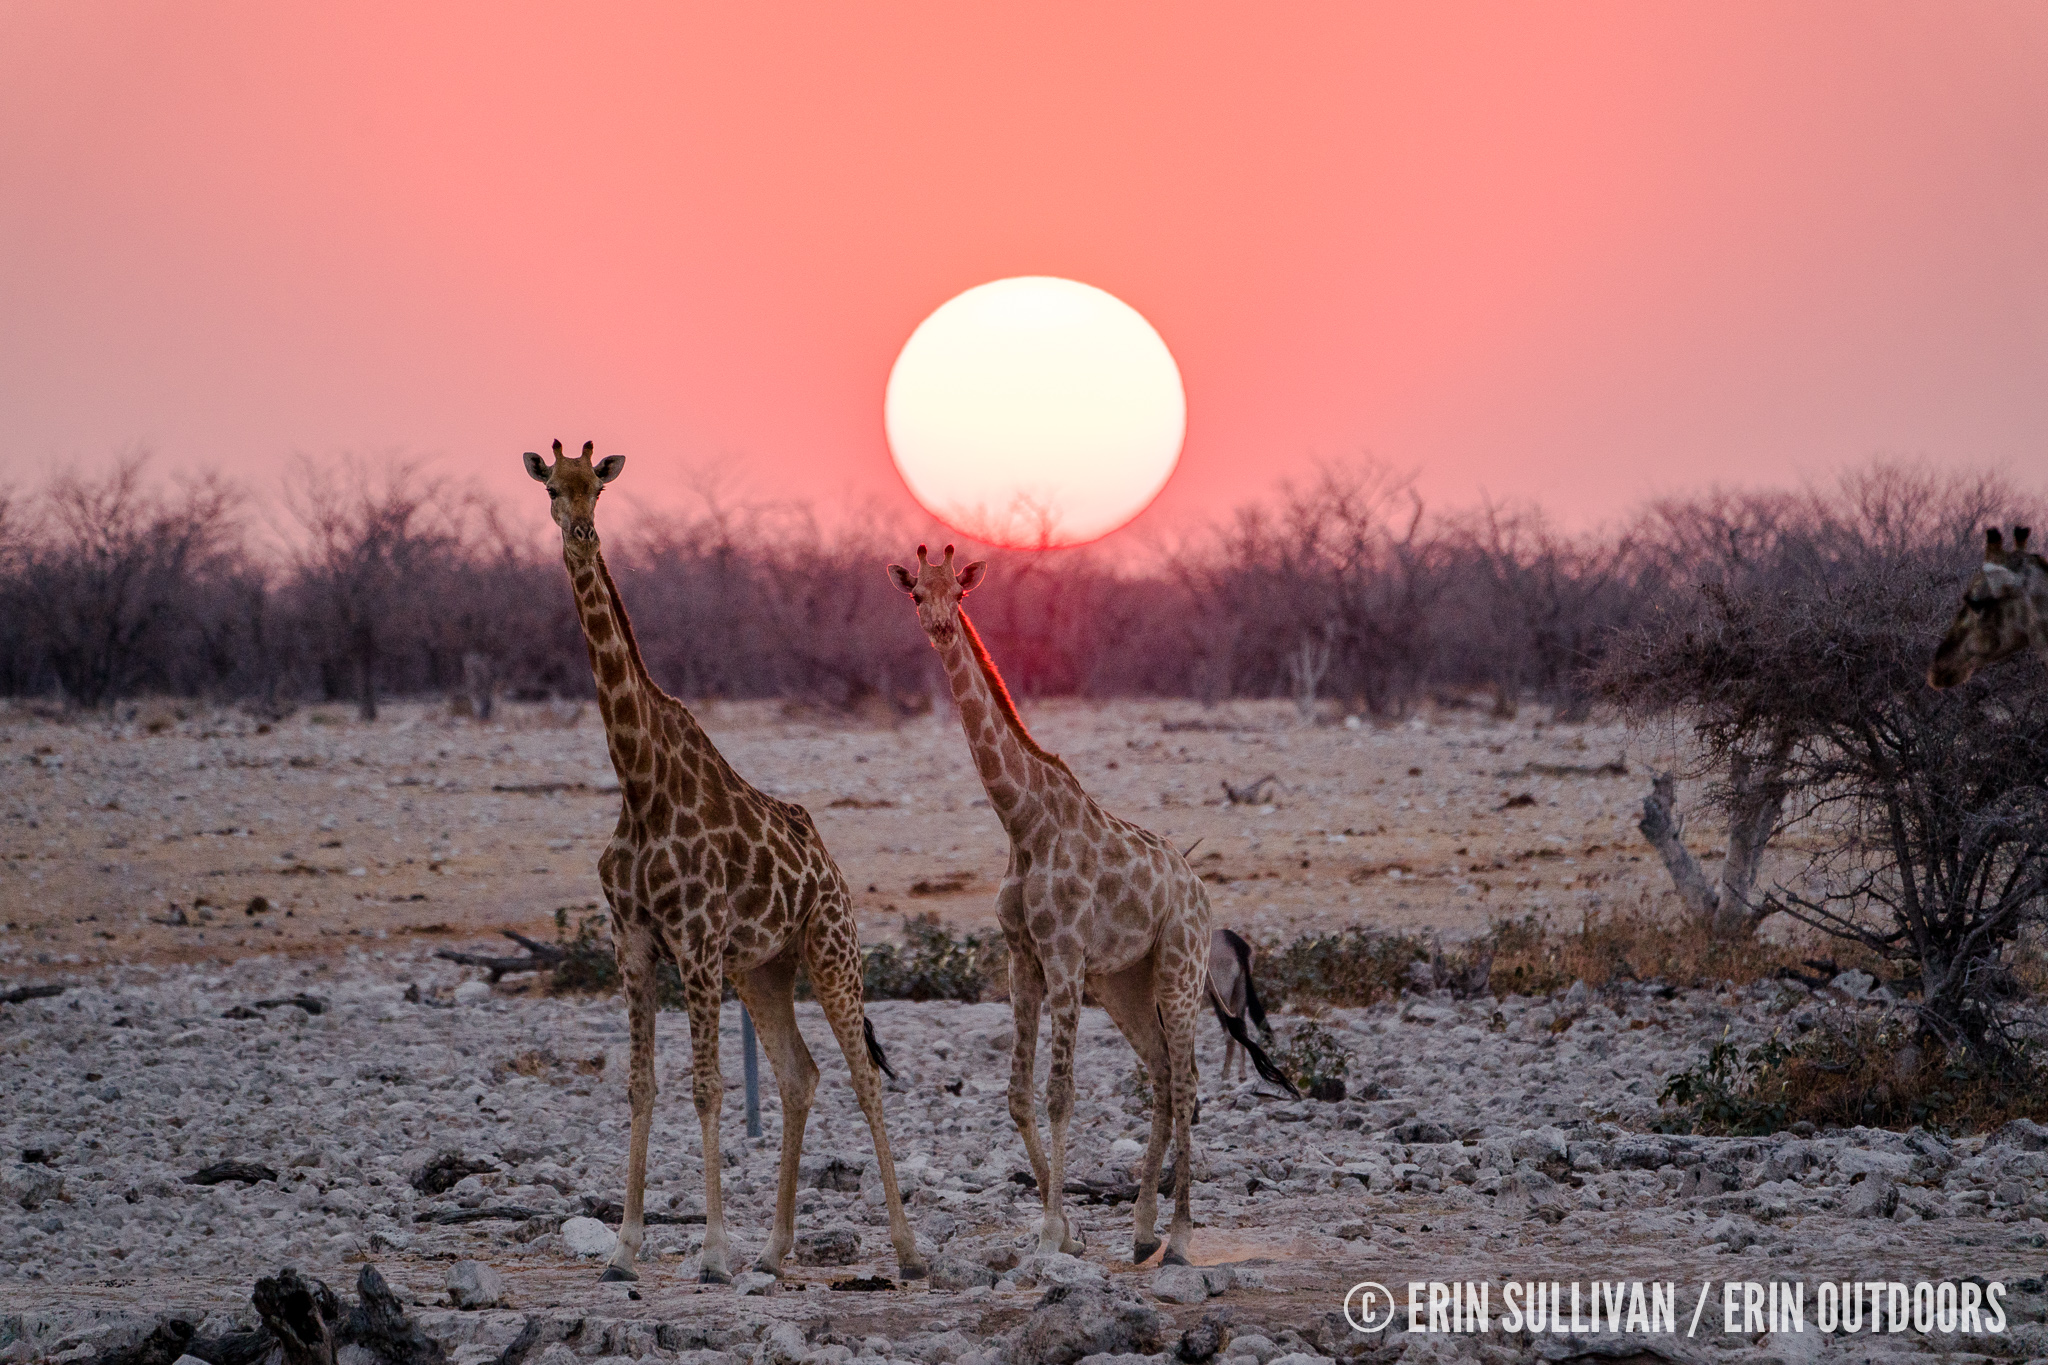
Days 11 & 12: Ongava Private Game Reserve (drive time from Okuakuejo 30min)
Oh, Ongava. I didn’t want to leave! Ongava Private Game Reserve was a massive highlight of this trip for me, and I’m so glad it was our last stop. It was the perfect place to celebrate the beauty of Namibia and wrap up such a fantastic trip.
We stayed at Ongava Tented Camp, which consists of eight luxury tents immersed in the bush in a classic safari style. The best part, in my opinion, is the glorious outdoor shower each tent includes. We ate our meals under a thatched roof with a waterhole front-and-center for wildlife viewing at all times of the day and night. Ongava’s attention to detail was impressive, especially in the way that they put nature first in everything they do–– indeed “Nature First” is their motto. It was inspiring to hear about their commitment to conservation and their plans for the future as well.
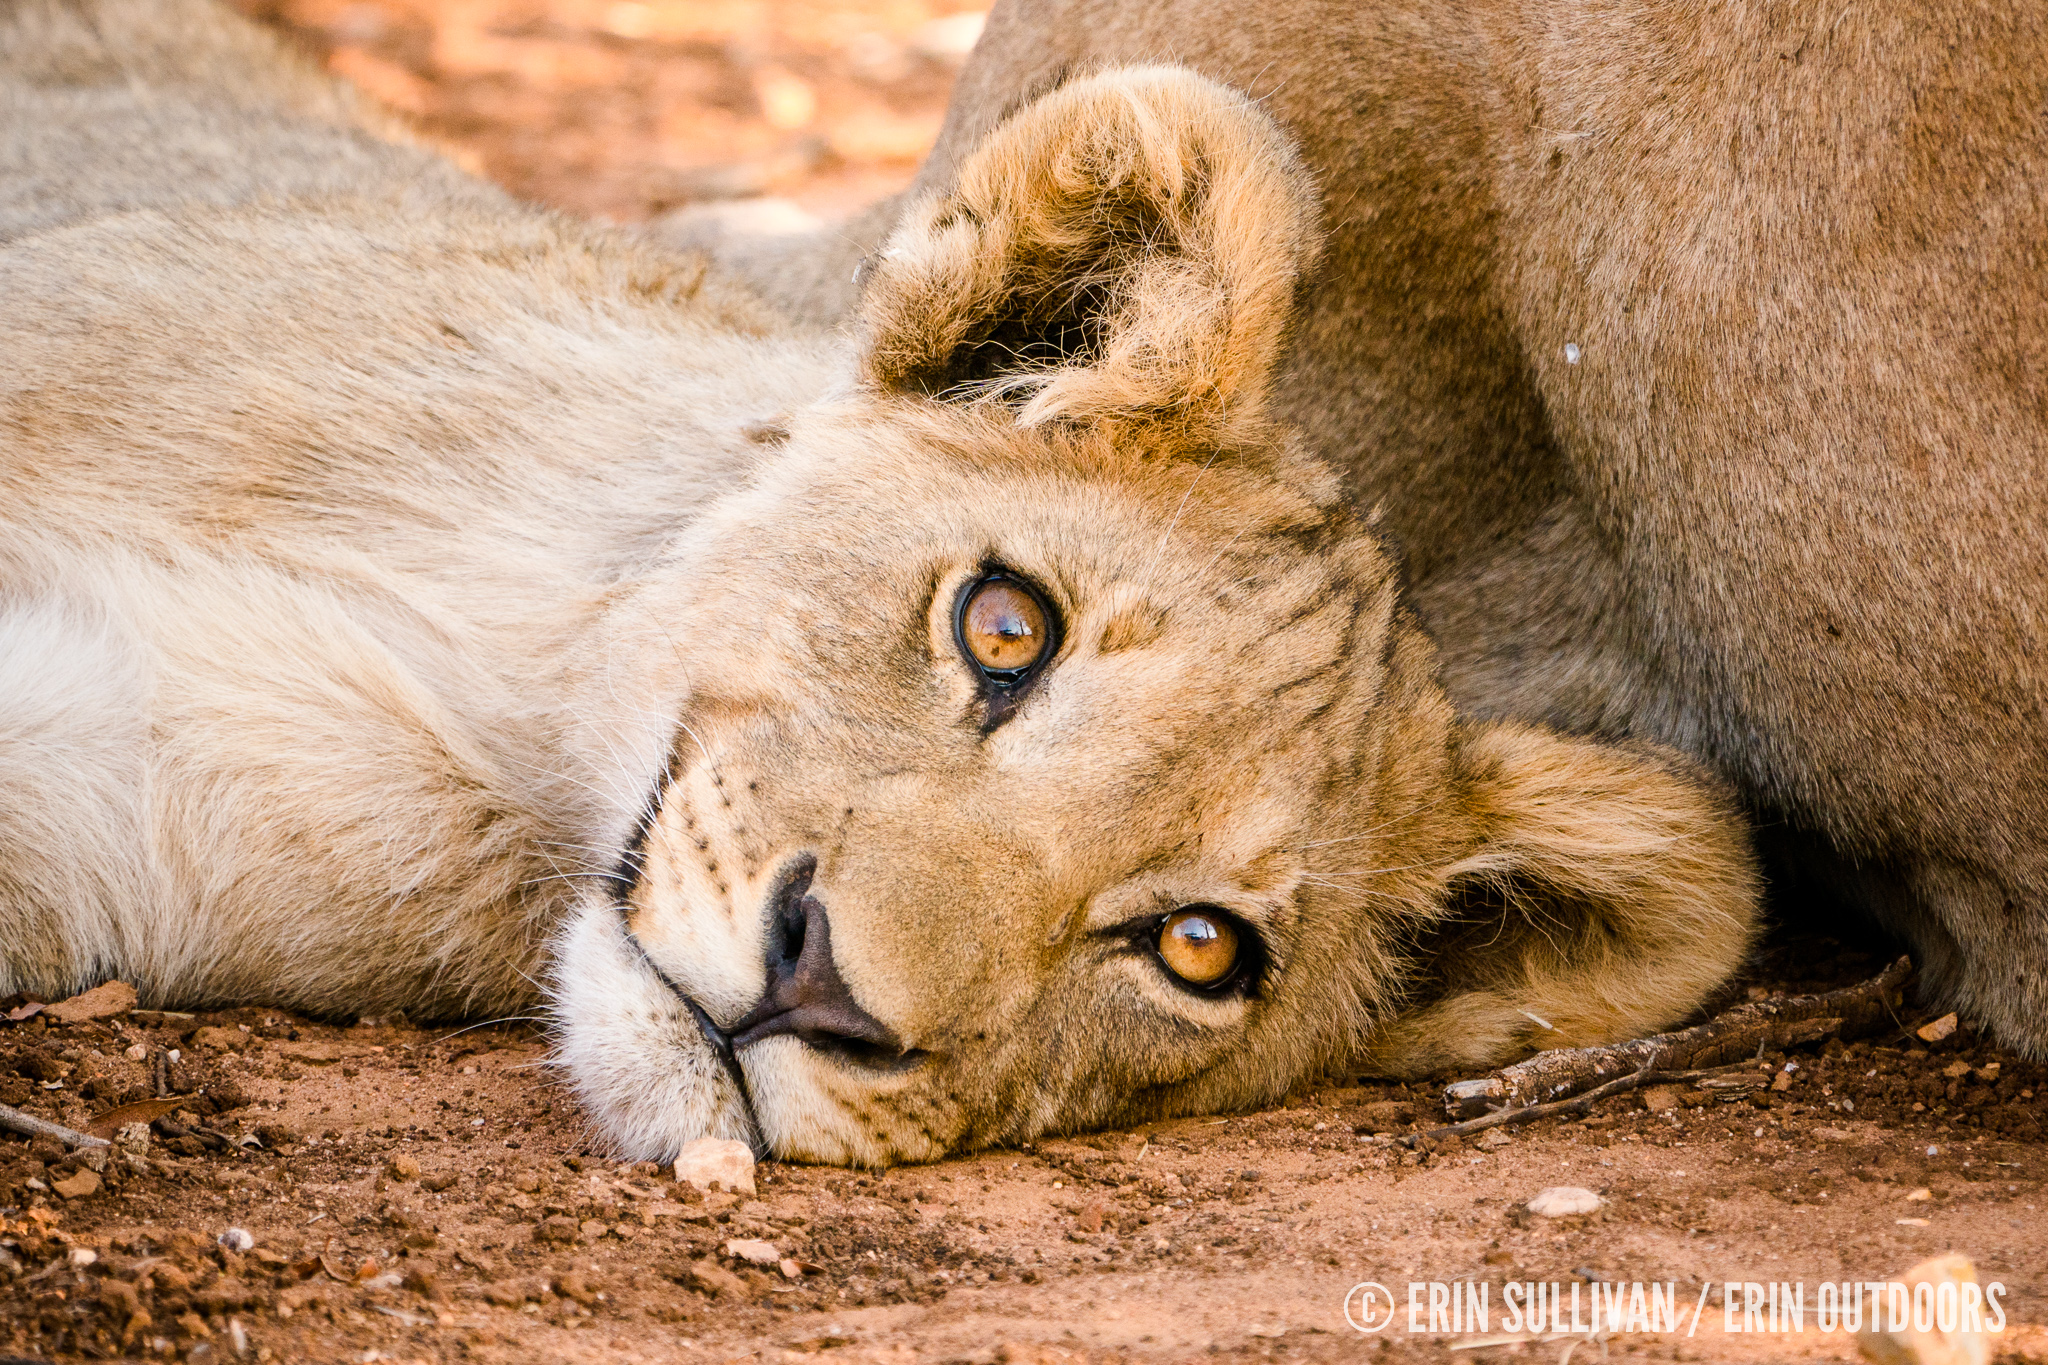
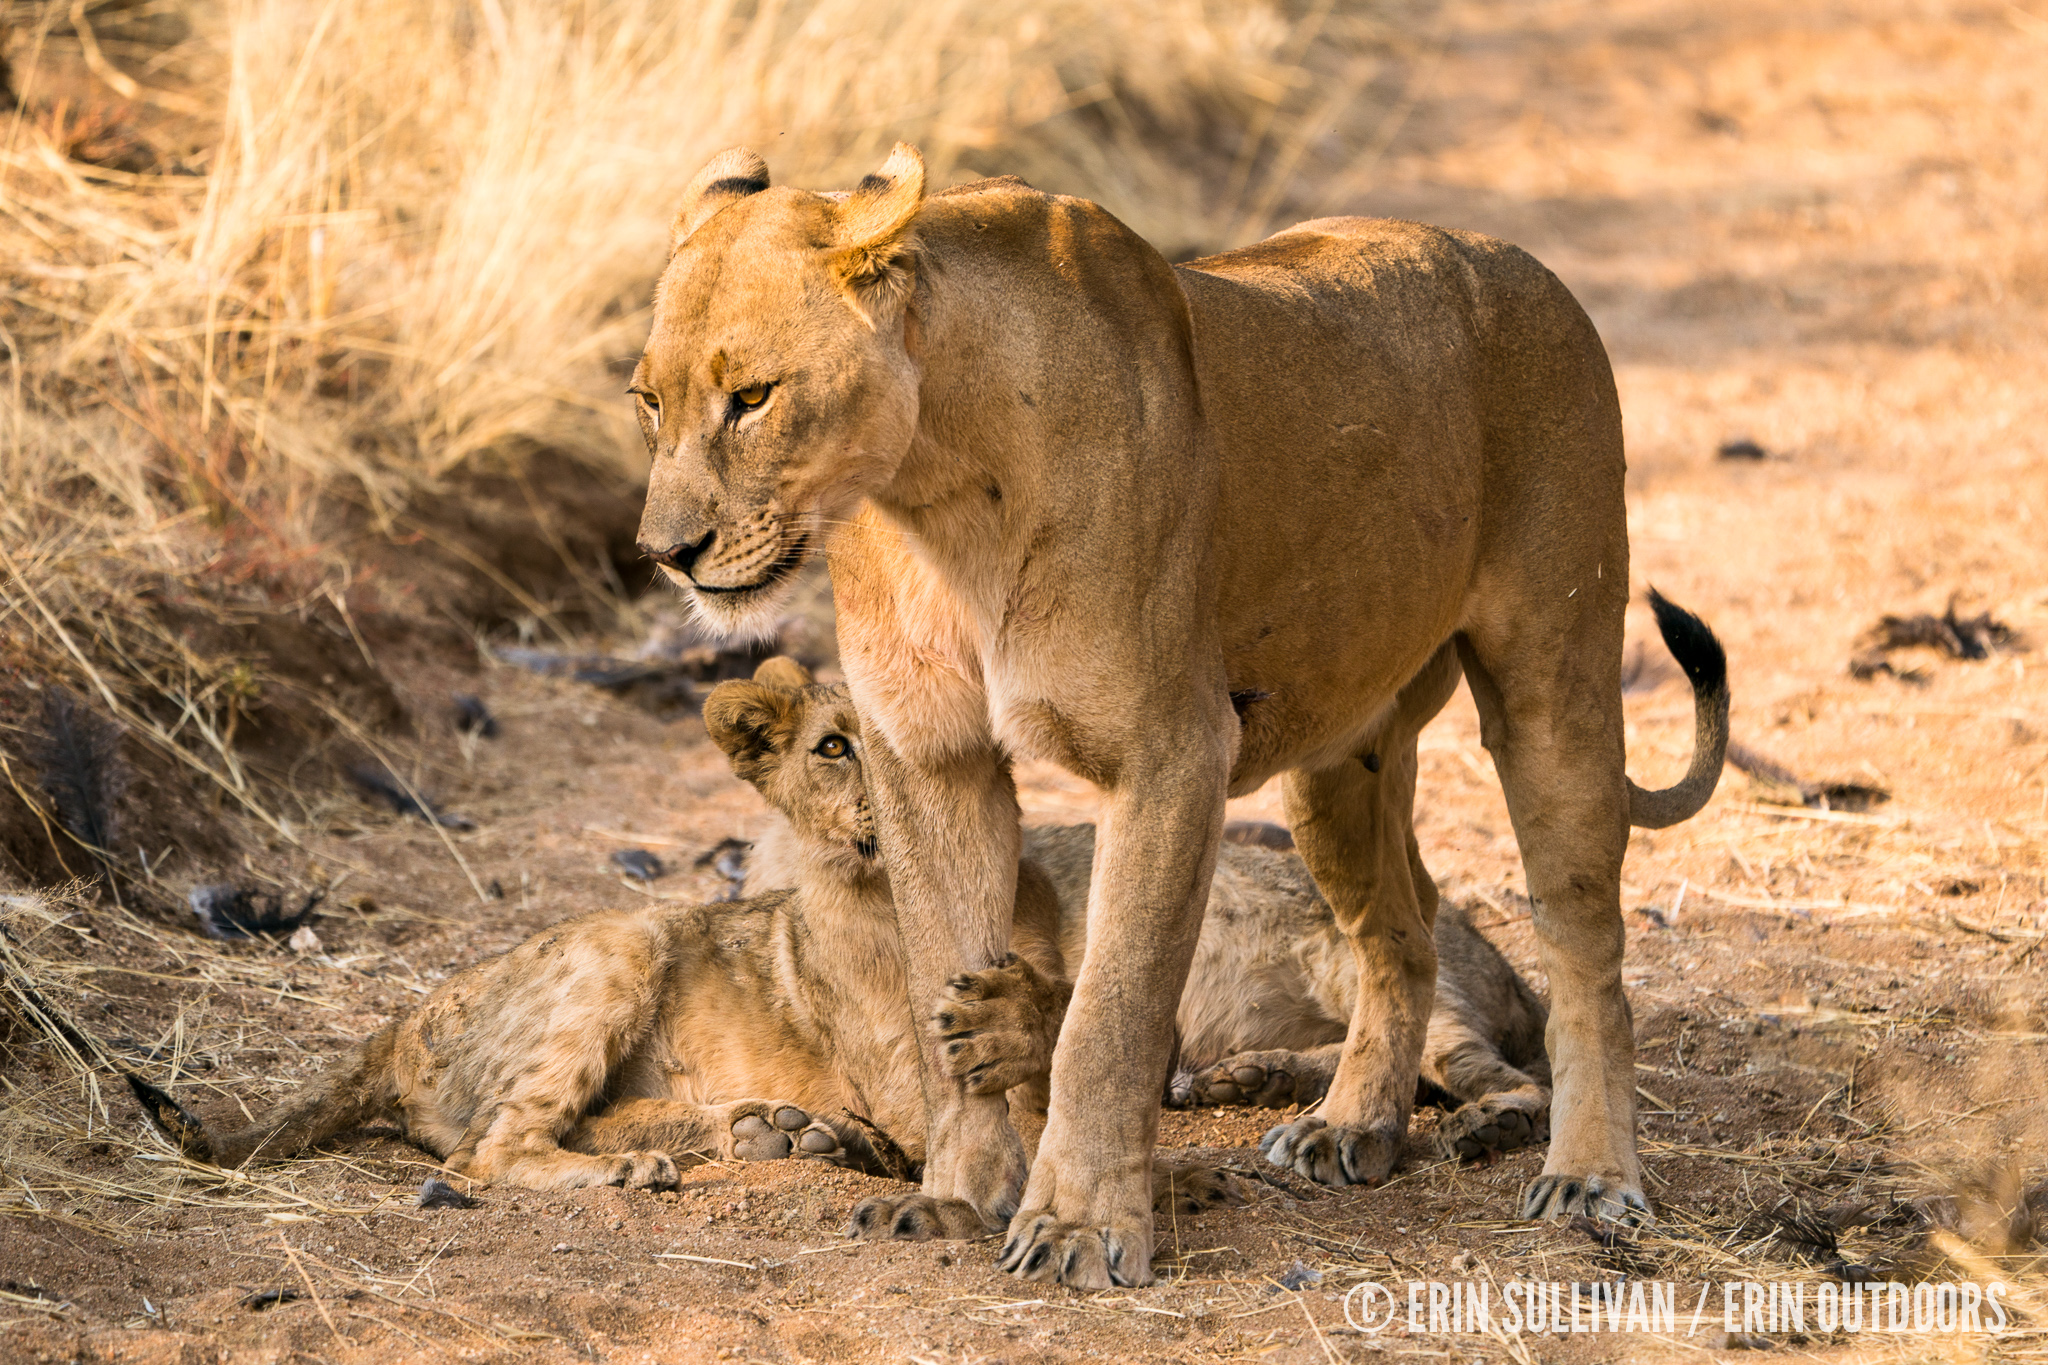
Our guide Michael was extremely knowledgeable and we enjoyed all of our drives with him. Wildlife highlights at Ongava included lots of lions (with cubs), cheetahs (with cubs), and white rhino, which we felt very lucky to see! FYI: the animals at Ongava do not wear tracking collars (which are common on other reserves and parks), which makes them both easier to photograph and maybe slightly harder to find.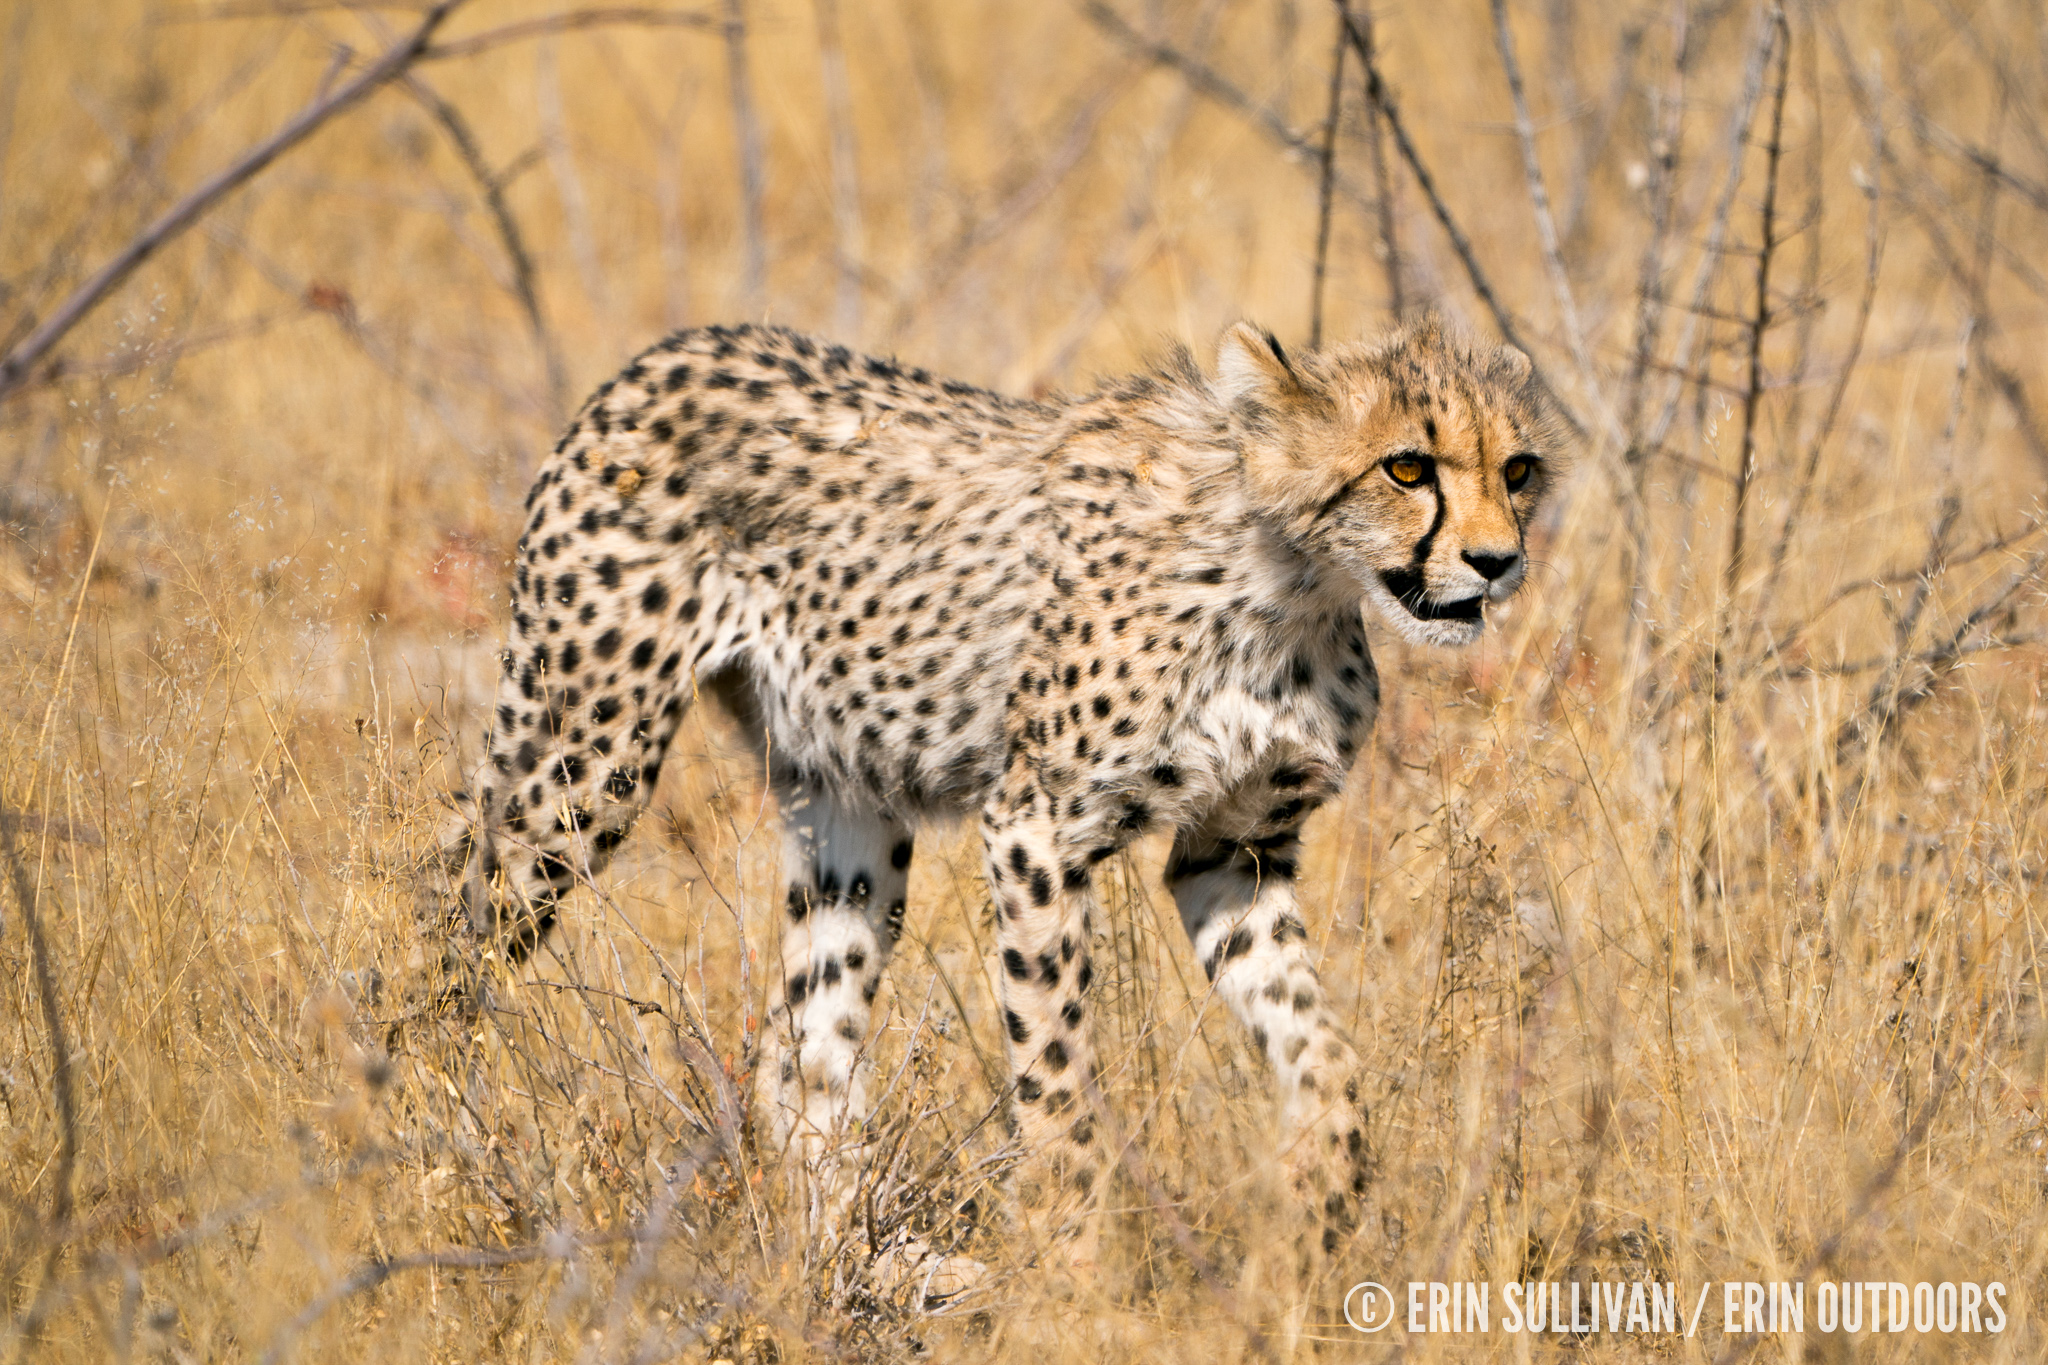
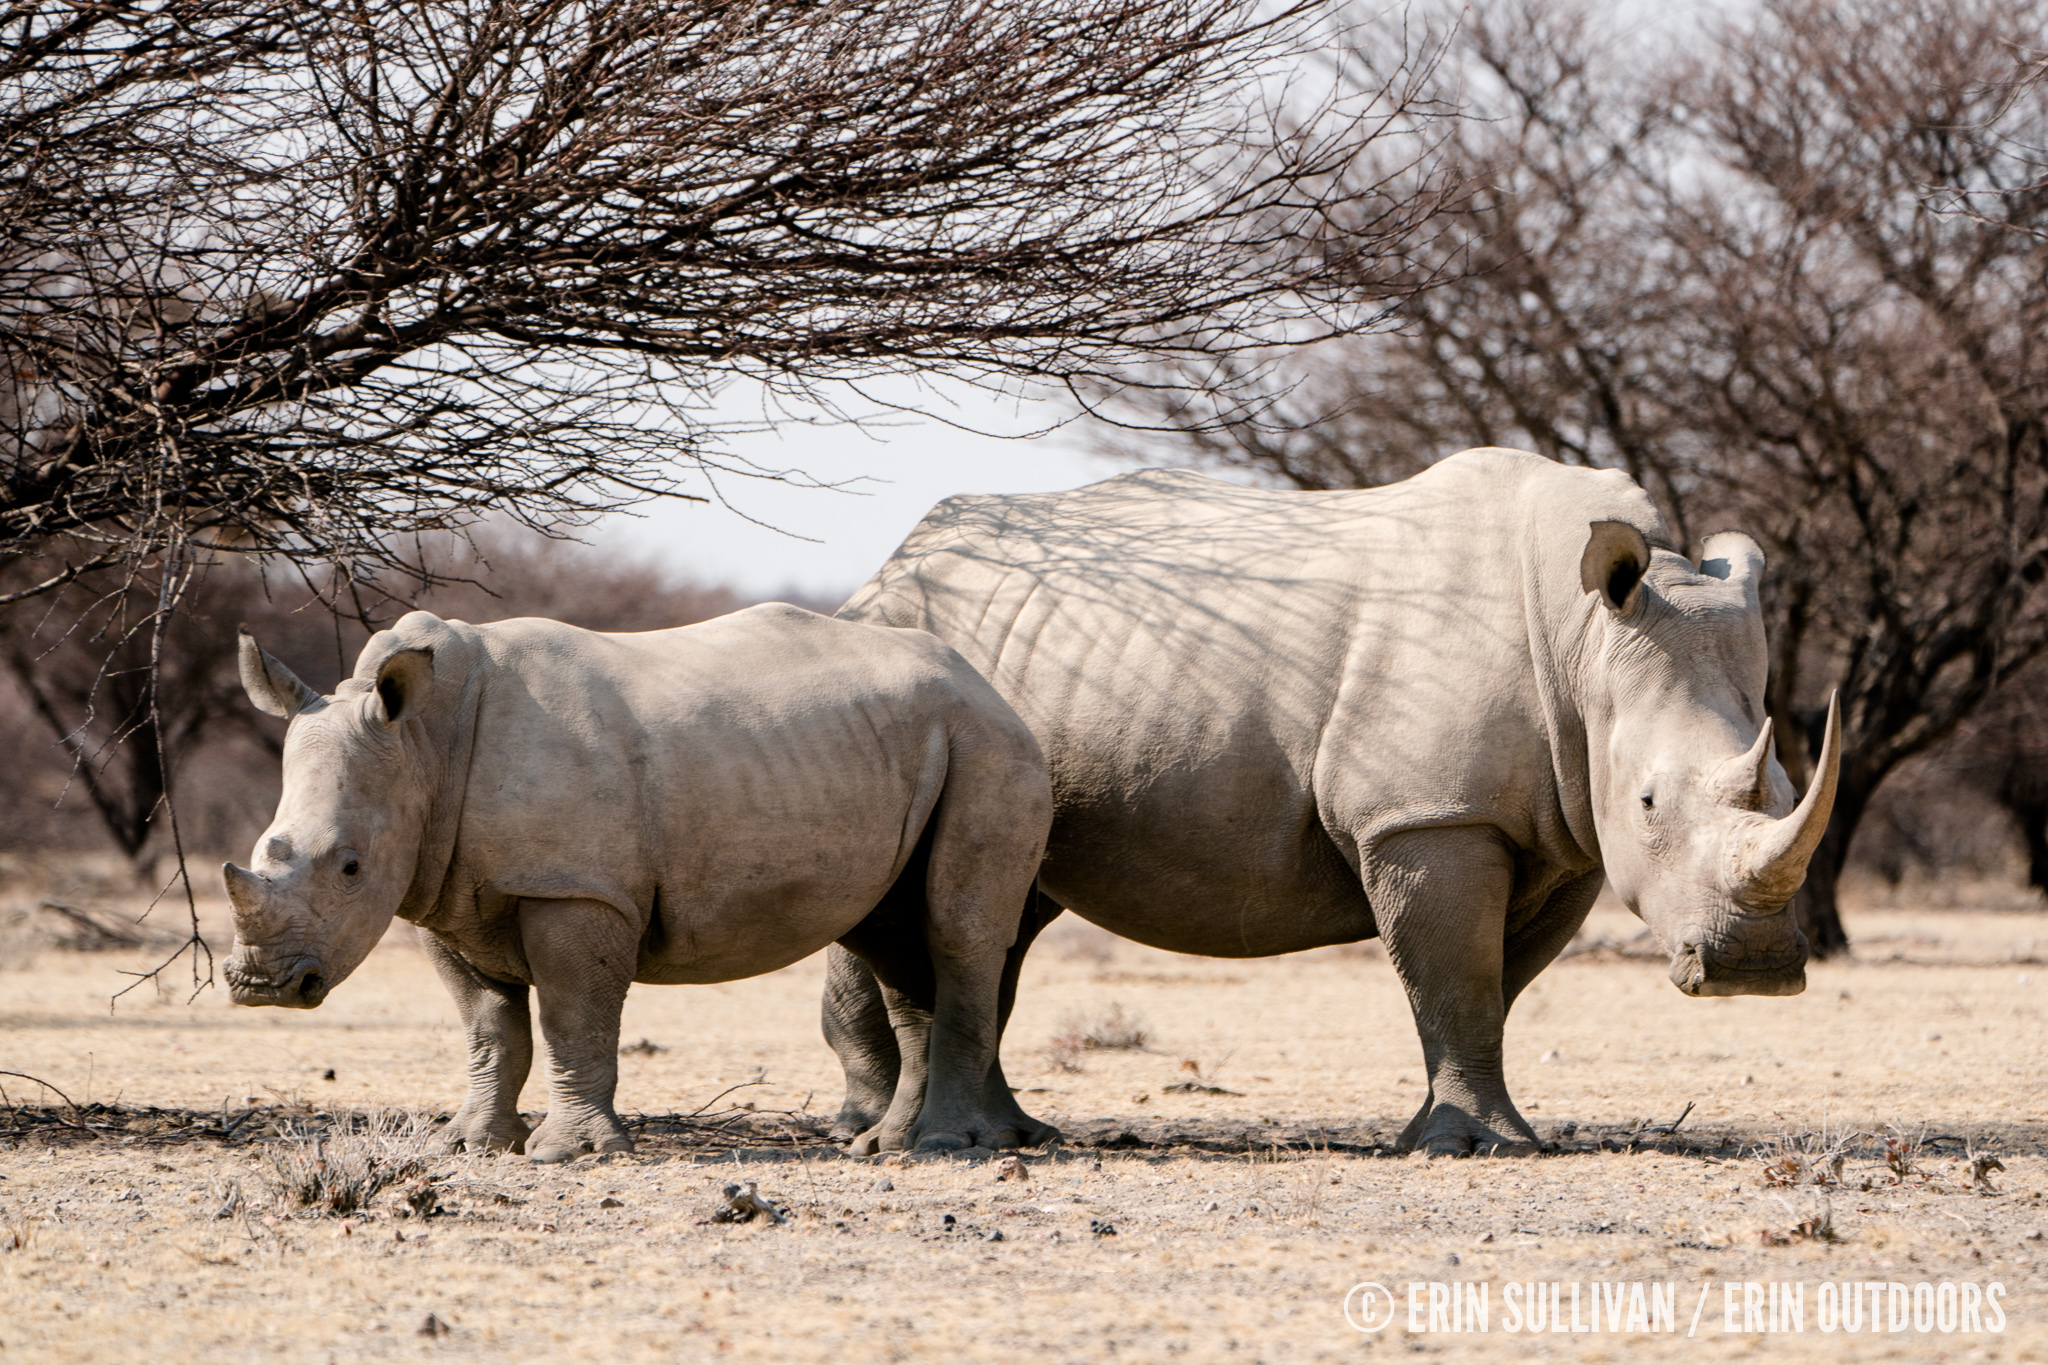
Highly recommended.
Day 13: Drive back to Windhoek (drive time from Ongava 4h 30min)
After our final drive at Ongava, we headed south to Windhoek. A friend recommended Joe’s Beerhouse, where you can get pretty much any type of meat you want. Colby ordered a skewer of pretty much everything (and contemplated going vegan in the aftermath!). This place is worth checking out for the decor alone–– it’s a beer house meets safari meets Caribbean beach bar. Quirky.
On our last night, we stayed at Etango Ranch Guest House due to its convenient proximity to the airport. It was easy and a good place to re-pack our bags for the journey home.
Day 14: Fly out of Windhoek
Goodbye, Namibia!
OTHER HELPFUL INFO
Some places we skipped on this trip, but that are worth considering: Caprivi region, Swakopmund, Fish River Canyon, Twyfelfontein. Colby went to Kolmanskop on his own before I arrived.
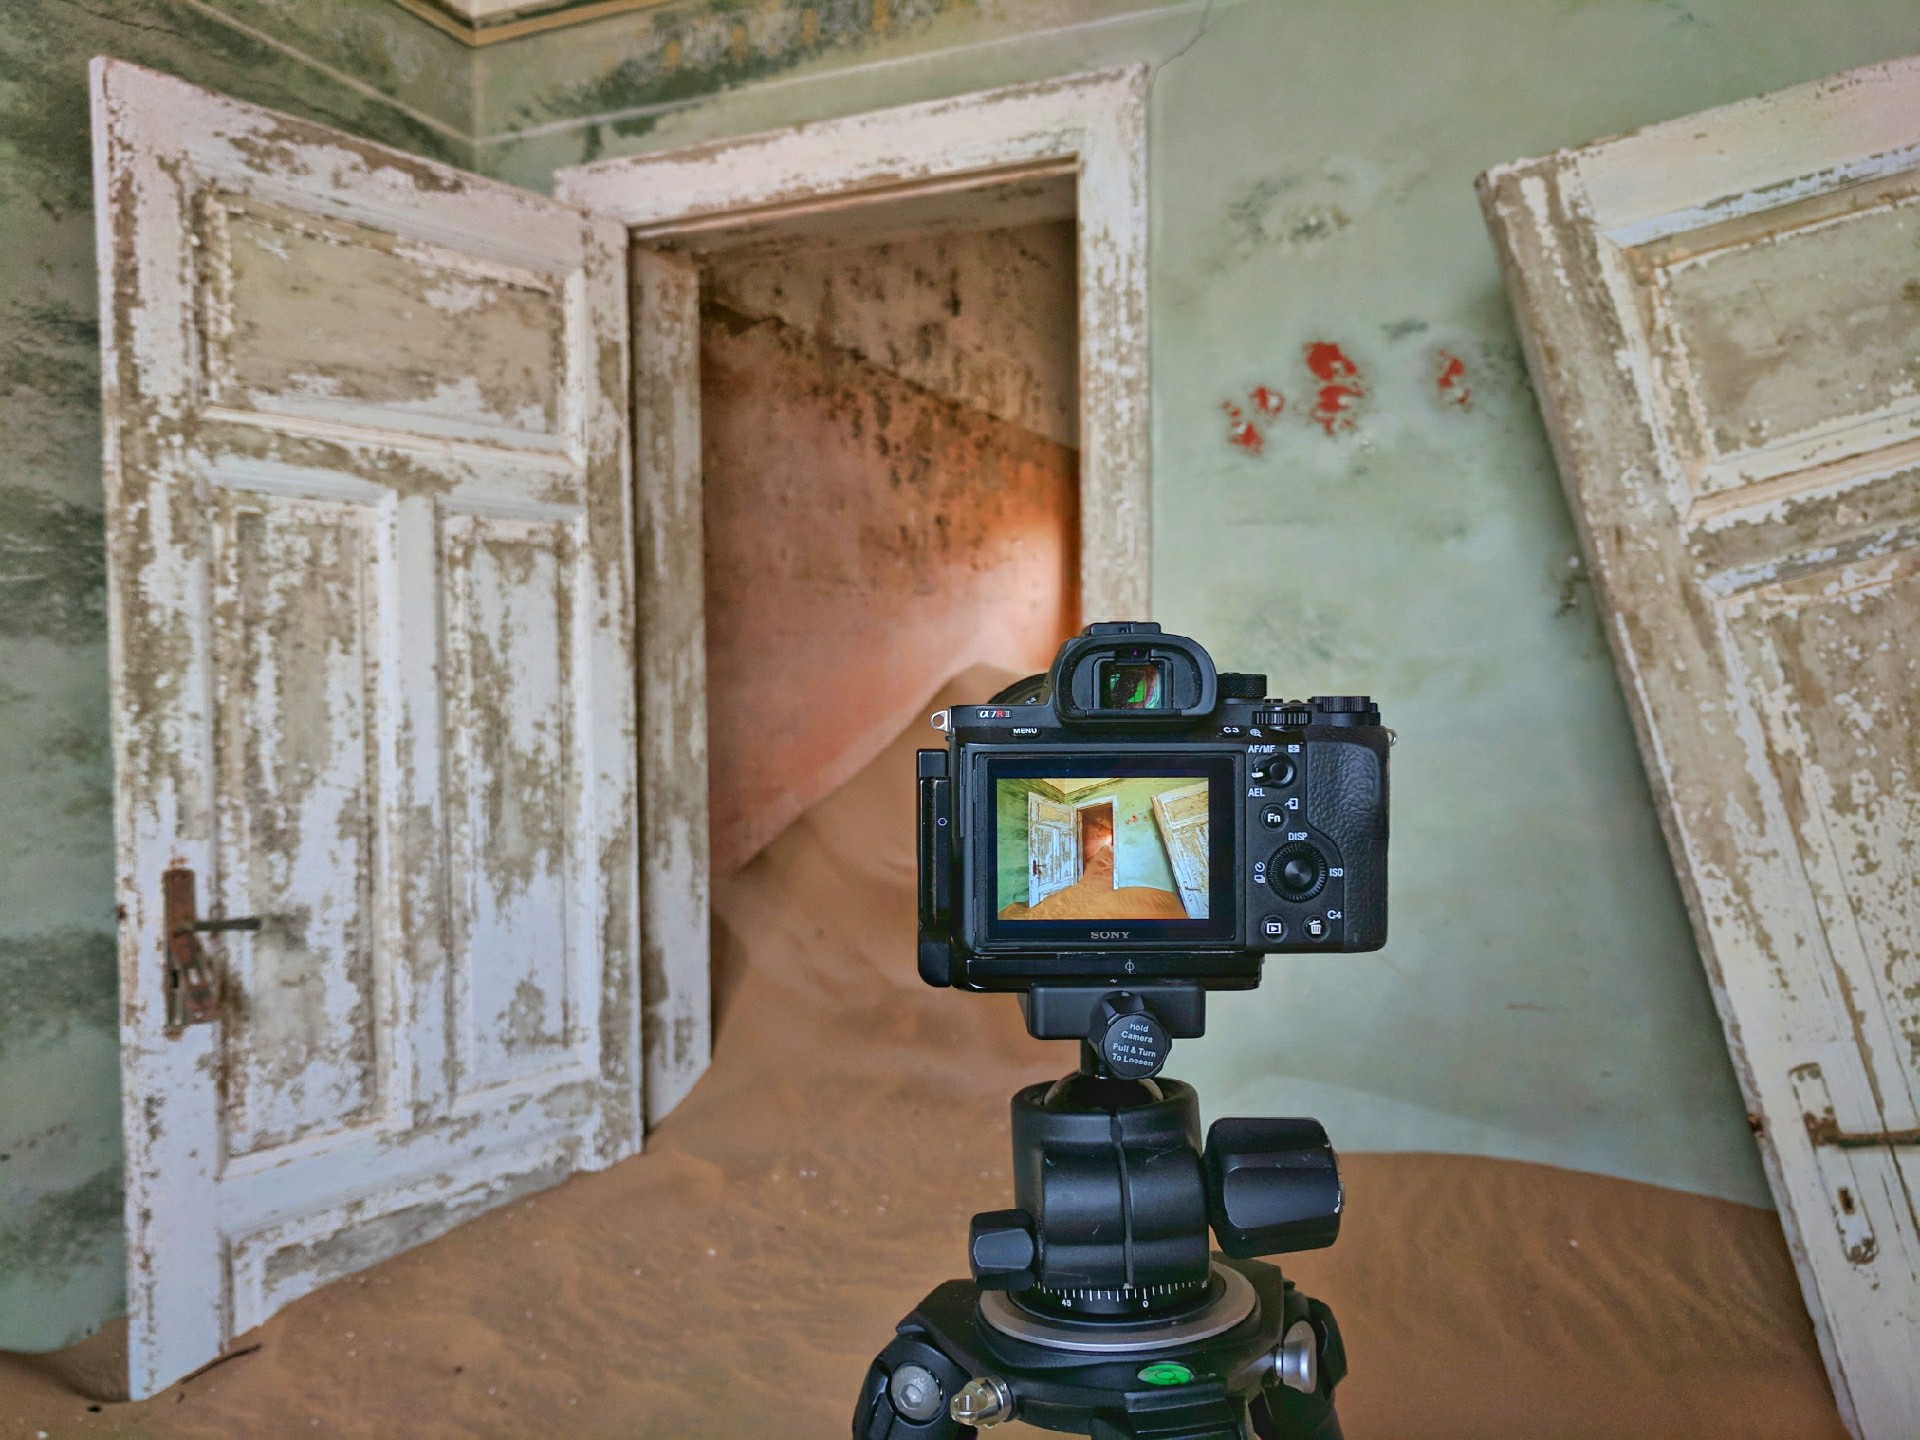
Colby’s view photographing Kolmanskop.
A note about booking NWR (Namibia Wildlife Resorts) properties (for us, that was Okaukuejo and Sossus Dune Lodge)–– these are government-run, and it can be hard to hear back from them! I found emailing to be inconsistent, and ended up calling their Windhoek office directly to make our bookings. I then paid for one of the bookings online, and one in person.
Etosha National Park is a must, but I do recommend splurging on a few nights at a private reserve if you are able. This will get you closer to the animals and provide a more intimate experience. Of the two we visited, I would book Ongava for a quieter/more relaxed stay, and Erindi if I was traveling with family or small children.
Driving times between the places you’ll want to see are long! Make sure you’re prepared with podcasts and some great playlists. Our rental car didn’t have an aux cord input, so we bought an FM transmitter like this one in Windhoek. I recommend bringing one with you just in case!
In general for trip planning, your options are to join a pre-designed trip with other travelers, or to plan something on your own. If you’re a less experienced traveler or would like to have a social trip, group trips are a good option for you. If you’re wanting something a bit more tailored to your preferences, planning your itinerary on your own is what you’ll prefer. If you want to do less work in the planning stage, you can hire a specialist to plan and book your entire trip for you. As stated above, we tasked Expert Africa with this for part of our itinerary and they were great.
If you are looking to join a photography tour, consider Malcolm Fackender’s Spotlight on Africa, who currently has tours available for July/August 2018. I’m sure Colby and I will each be leading trips in Namibia eventually–– until then, if you want to go on a trip with either of us, you can check out Colby’s photography workshops here and my trip offerings by clicking the “Trips” tab above (or just follow this link).
MY PHOTOGRAPHY GEAR
Here’s the list of photo gear I used on this trip:
- Sony A9 – the best thing ever for shooting wildlife. (hello 20 fps!)
- Sony A7Rii – my usual go-to camera
- Sony 100-400mm f4.5-5.6 GM – the winning lens, paired with the A9 for all of my wildlife shots!
- Sony 24-70mm f2.8 GM
- Sony 16-35mm f2.8 GM
- Sony RX100V
- Sony 1.4x Teleconverter – I used this with the 100-400 more than half the time.
- Mefoto Backpacker Tripod
- LowePro Flipside 500 AW II
- Rocket blower – do NOT go to Namibia without one. Sand. Dust. Sand and dust everywhere.
- Zeiss lens wipes
For wildlife photography, the winning combination by far was the Sony A9 with the 100-400mm f4.5-5.6 lens + 1.4x Teleconverter. Due to the high frame rate and awesome autofocus, this made my job so easy when it came to capturing images.
If you want to see an updated list of my current gear kit, click here.
This was an epic trip and I loved sharing it with you on social media! If you have more questions about Namibia, photography, or travel in general, please let me know in the comments or shoot me an email at info@erinoutdoors.com. Thanks for following along.
Please ignore this text box - Recoleta Font


+ show Comments
- Hide Comments
add a comment