


 copy")

If you’ve ever looked at a beautiful photo of the Milky Way and wondered… but… how?!… this post is for you! I know this genre of photography can feel intimidating, but trust me, you do not need to own a fancy telescope or have a ton of technical knowledge to create photos of the night sky. Here, I’m going to cover how you can create beautiful astrophotography, hopefully with gear you’ve got already–– and in my Verizon Techxperts episode, I show you the results. Let’s go!
There are thousands of stars visible to the naked eye from Earth, and the feeling of looking up at a dark night sky is magical and unmatched! But cameras and phones today can effectively see more than our eyes can. This contributes to a stunning image with a TON of detail… more than what we’re able to perceive on our own.
First, let’s go over gear and settings. From there, we’ll move on to location and planning. We’ll wrap up with a bit of guidance on how to edit your images. Remember: you do not need the most complicated gear or extensive knowledge in order to achieve beautiful results!
So you wanna take pictures of the stars…
The gear
- A picture-making device: Camera & lens, or a smartphone that has long exposure capabilities (like the Samsung Galaxy S20 Ultra 5G, which is what I used to create some of the images in this post)
- A tripod
- A dark, clear night sky
- Editing software of your choice
- Memory card & battery for your camera (if applicable)
- Headlamp or flashlight
- Gear for the weather – dress appropriately and stay safe, friends!
The basics
Let’s begin with your camera settings. Trying to familiarize yourself with these settings, and what they do, will definitely benefit you in this endeavor! Generally speaking, there are 3 big factors when it comes to making photographs. Those factors are Shutter Speed, Aperture, and ISO.
SHUTTER SPEED: This is the measurement of time a camera’s shutter is open to allow light in (and therefore, capture your image). A shorter shutter speed lets less light in, a longer one lets more light (and motion) in. For nighttime photography, you’ll need to use a long exposure.
APERTURE: This is the hole in your lens that light travels through (like the pupil in your eye). The wider the aperture, the more light can get in. To photograph the stars, you will use your widest aperture*, which is the lowest f-number (commonly f2.8). *An important note: technically your lens is NOT at its sharpest when the aperture is widest, so you may want to come up a bit from the lowest f-number. Personally I don’t see this as a huge concern unless you are doing more advanced work. I wouldn’t worry about it for now.
ISO: This is effectively the level of sensitivity of your camera to light. The higher the ISO, the more sensitive your sensor is to light, and the brighter your image will be. For everyday use, you typically want to shoot on the lowest ISO possible, because it gives the best quality image and least amount of noise, but when shooting in the dark, you’ll need to use a higher ISO.
Think of these three factors as a formula that creates your perfectly exposed night-time photo. You’ll need to adjust and balance them out so that you are happy with the resulting image.
Astrophotography camera settings are not universal. The same settings won’t work for every scenario. But STAY WITH ME HERE! The strategy is to start with some base settings, and adjust from there. Here are mine:
- Set file settings to RAW, if your device allows. Shooting in RAW gives you the most data to work with.
- Shutter Speed: 20 seconds. In order to capture lots of stars, you’ll need to use a long exposure. I like starting with 20 seconds. Beyond 20 seconds, you may start to see “star trails”, which is when the camera captures the movement of the Earth. This depends on the focal length of the lens you’re using. If you are getting star trails and you don’t want them, you just need to decrease your shutter speed–– 10-15 seconds or less.
- Aperture: 2.8, or the lowest f-number your lens goes to. This opens up your aperture to its widest setting to let the most light in possible.
- ISO: 3200. I like starting at 3200, because it makes your device more sensitive to light, but won’t have excessive noise. You’ll want to choose the lowest ISO you can, as your other settings allow.
- Zoom: switch to manual, and adjust to infinity. If your camera has a digital viewfinder, look to see when the stars get the smallest (sharpest).
- Use a 10 or 2-second timer. This prevents you from getting camera shake from when you press the shutter button.
- Watch the exposure compensation. I prefer to shoot as close to 0.0 as possible, and slightly overexpose if anything.
When it comes time to shoot, you’ll adjust your camera or phone to all of these settings, set it on a tripod according to your desired framing, and hit the shutter button! From there, you’ll tweak your settings and the position of your camera/phone as you go.
Here are some common adjustments for your settings:
- If the image is too dark, increase ISO or use a wider aperture (lower f-number).
- If the image is too bright, decrease ISO or use a narrower aperture (higher f-number).
- If you are getting star trails and don’t want them, decrease shutter speed.
- If the image is blurry, adjust the focus and ensure your 2-sec timer is enabled.
The location
As you may have guessed, dark skies are preferred! Getting away from light pollution is ideal. If you’re able to travel, check out this map of International Dark Sky Places. If you need an option for staying closer to home, a backyard, park, or other open space works! The darker the skies, the more stars you’ll see in your images. But even in a city, you can see bright stars, planets, and (obviously) the moon.
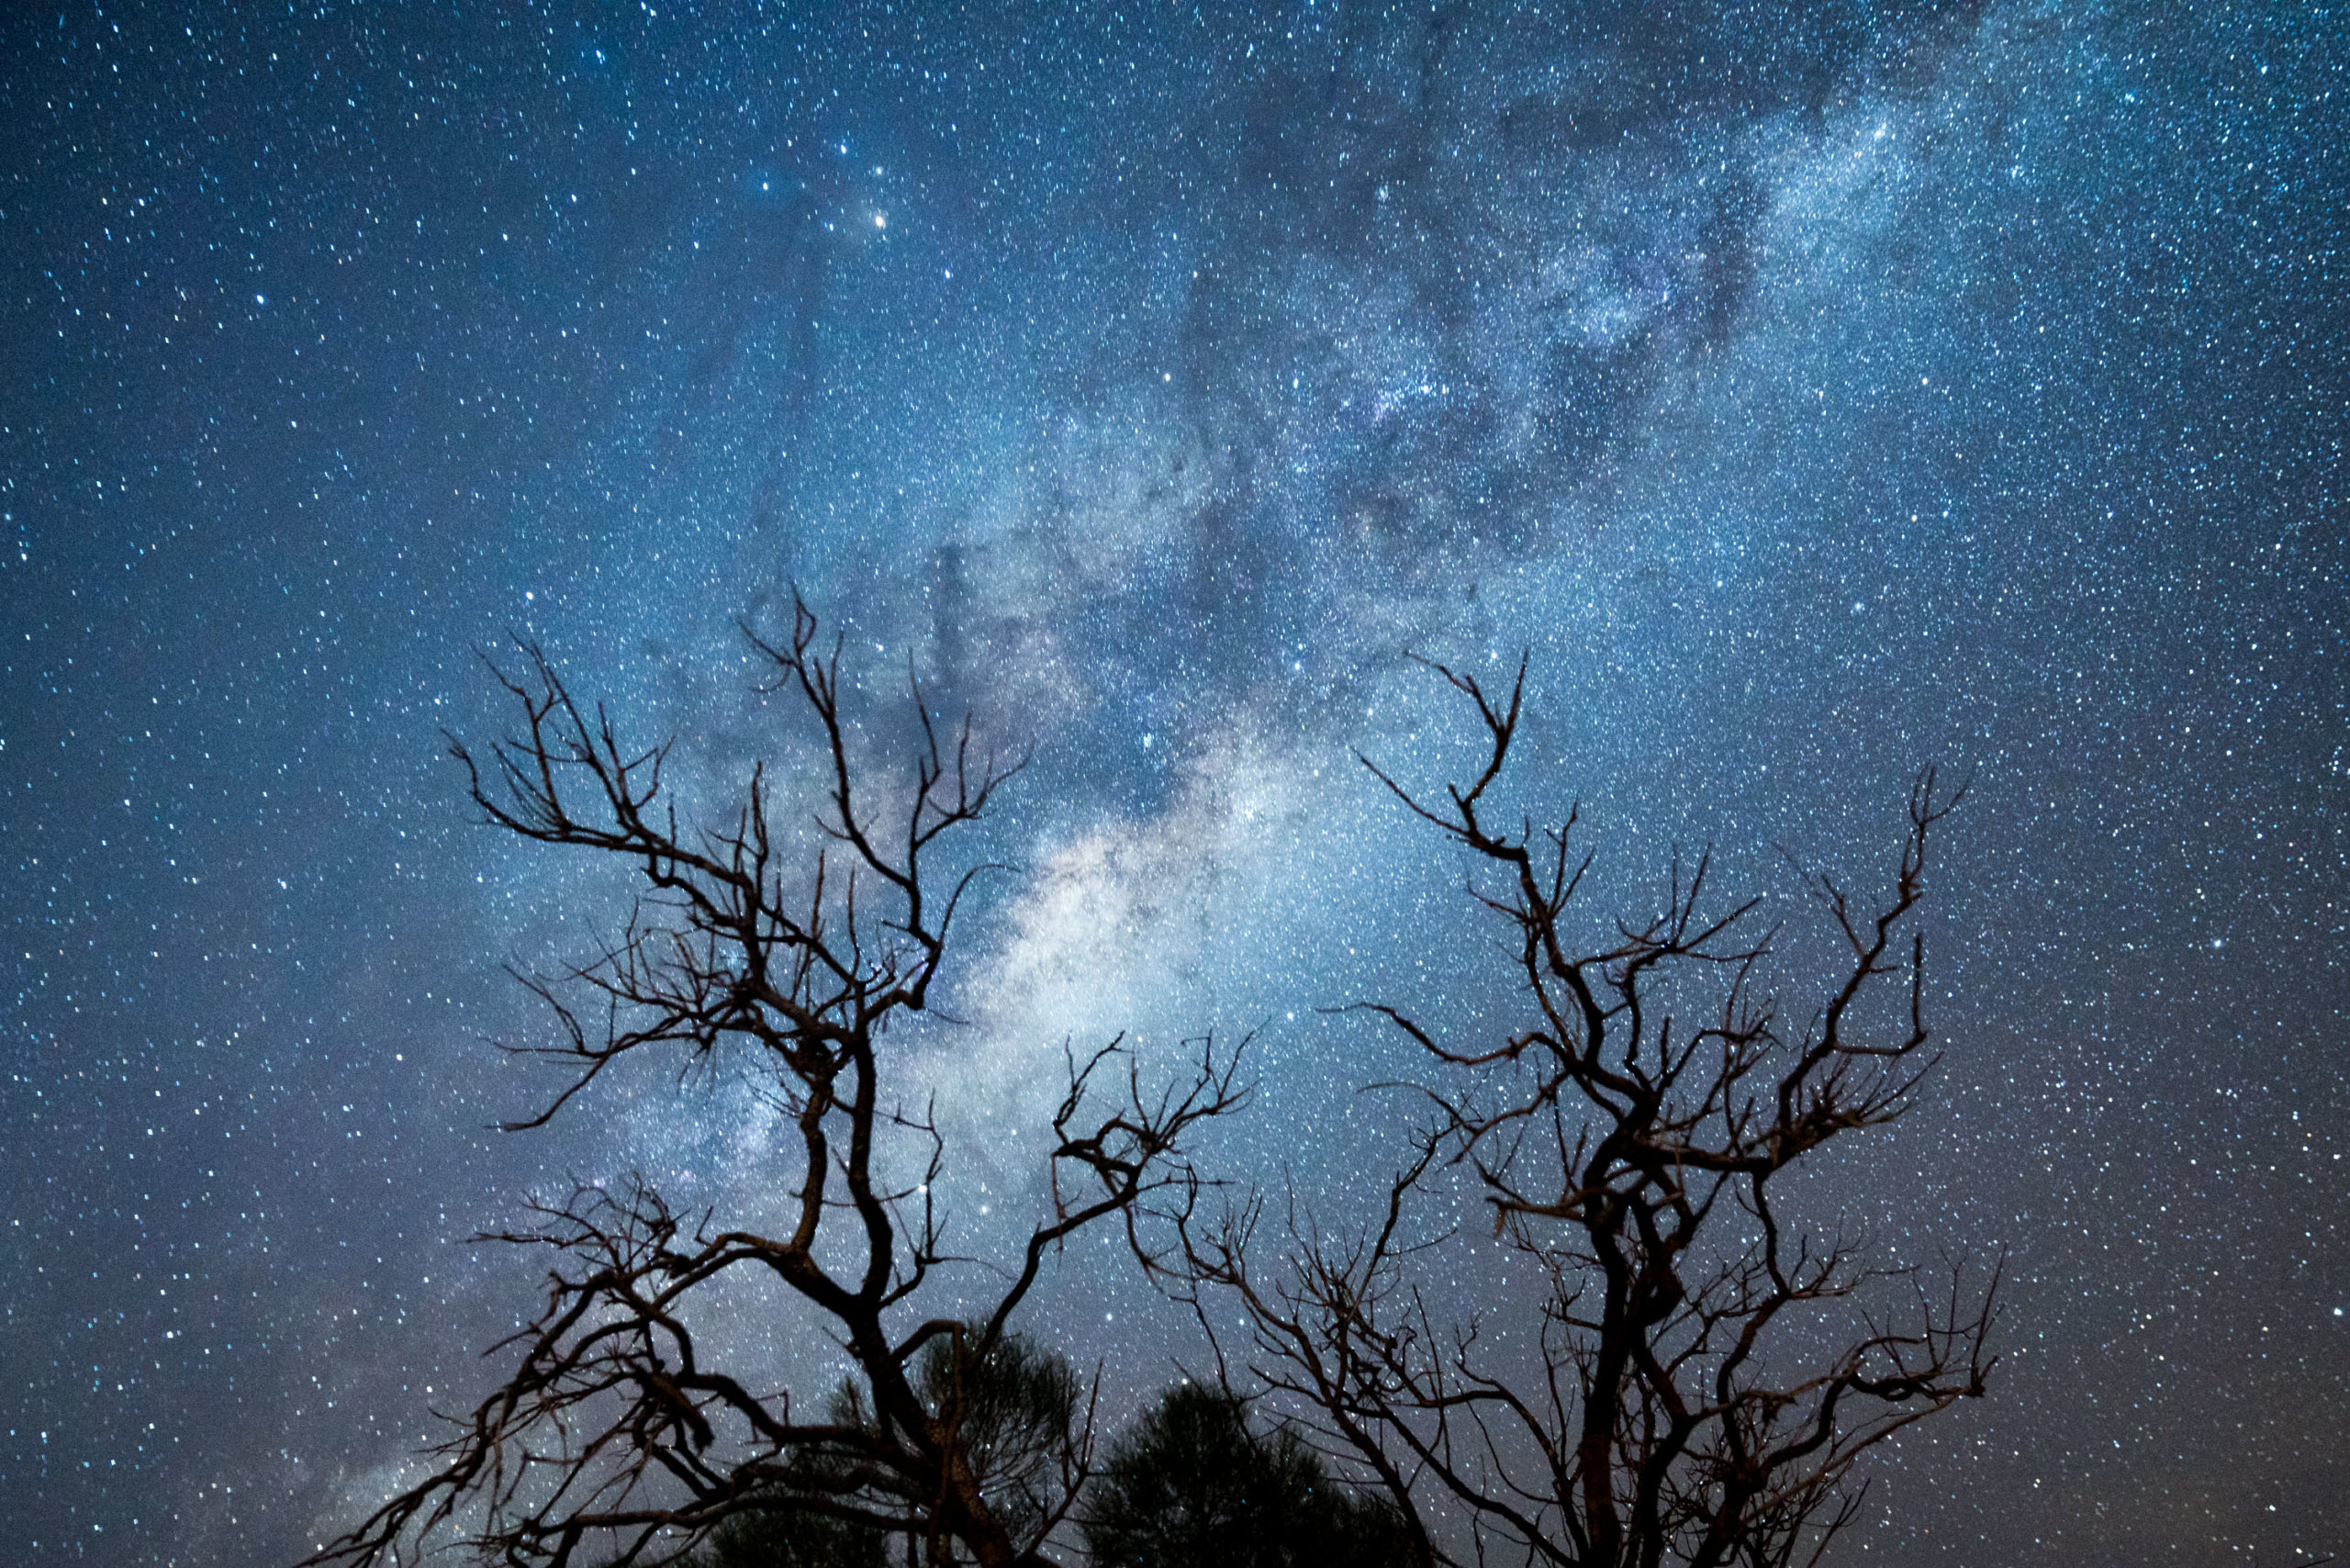
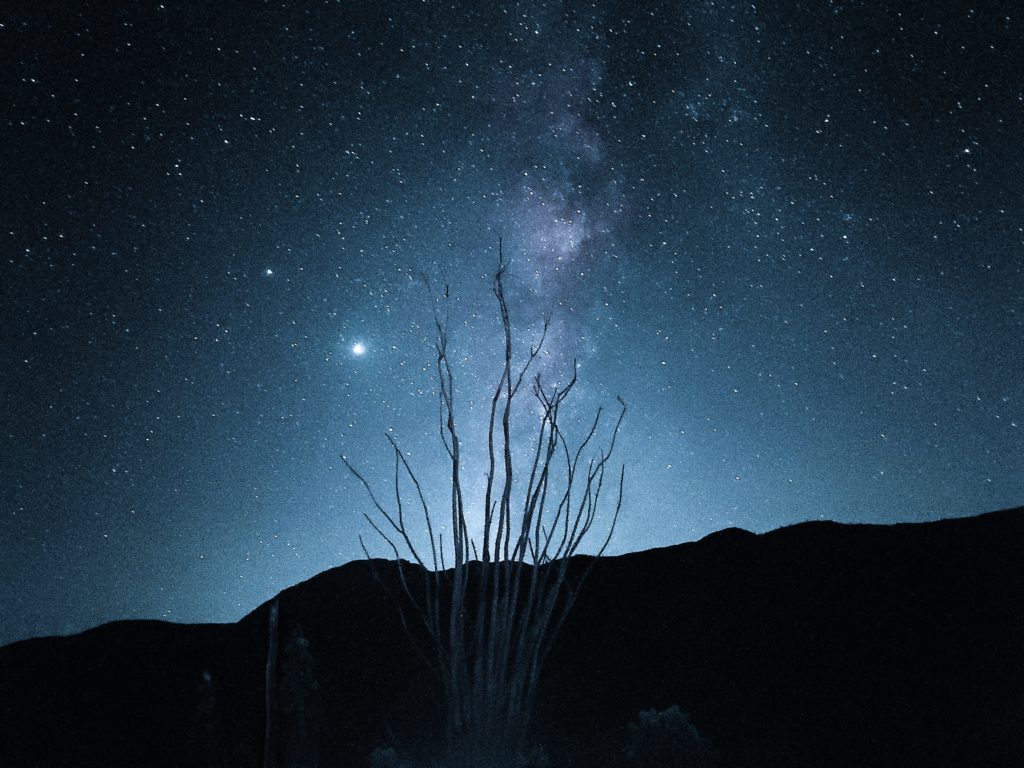
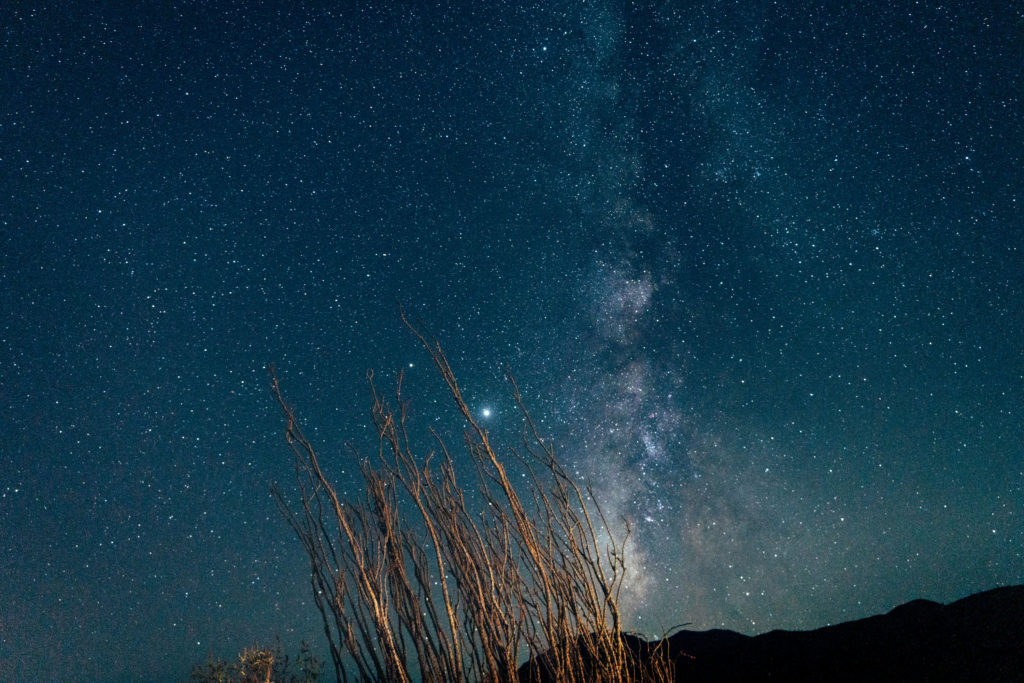
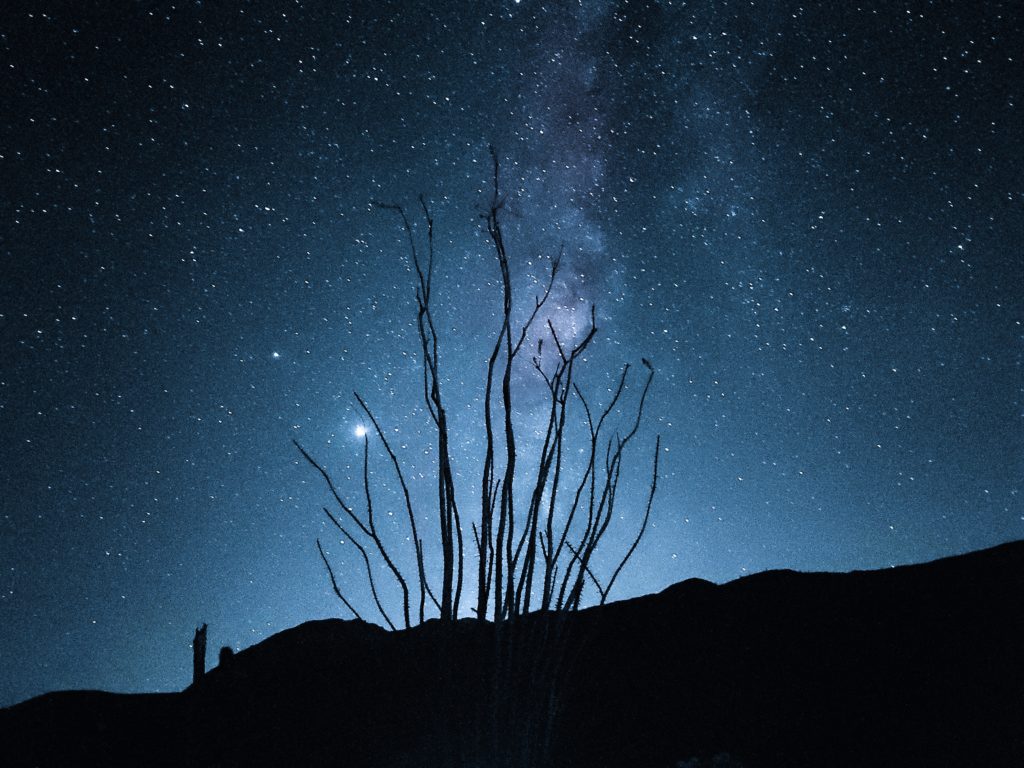
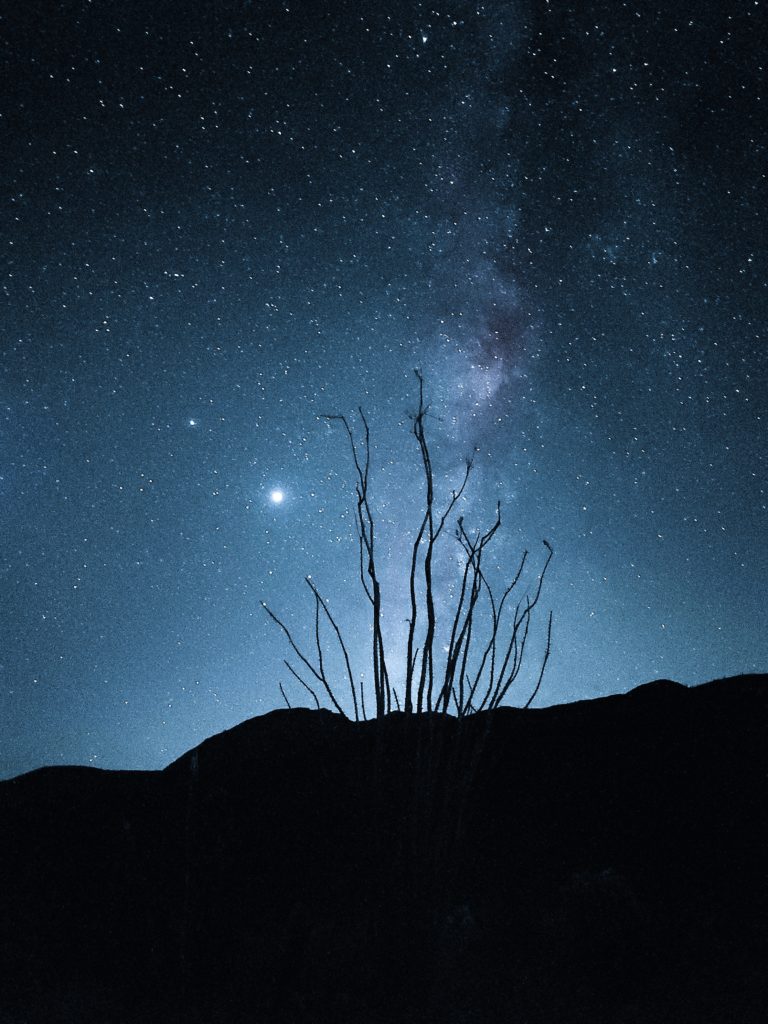
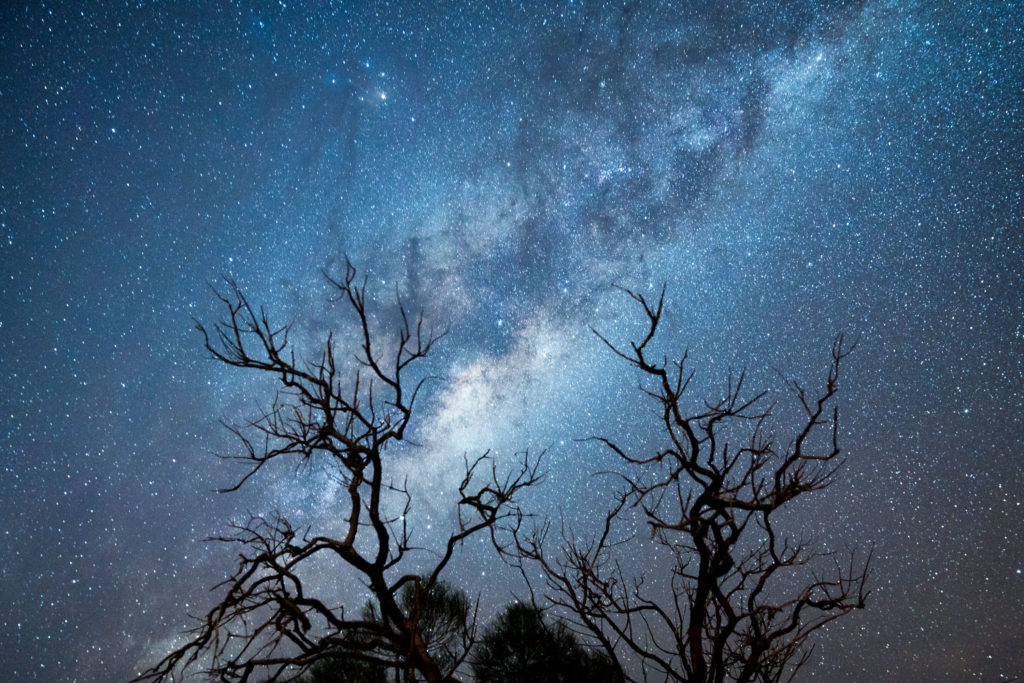
I like having some kind of foreground element in my night sky photos. A tree, cactus, tent, cabin… use your surroundings.
The conditions
As a fellow resident of Spaceship Earth, you are familiar with things we encounter here like weather, seasons, and moon phases. 😉 These things will impact your photos!
WEATHER: Aim for a clear night! Clouds can be neat for a timelapse, or if you’re above them on a mountain or something. But if you’re going for star photos, you’re gonna need to be able to see them, ya know?
THE MOON: The moon impacts astrophotography in a few ways. First of all, it’s pretty freakin’ bright. If you shoot during a full moon, you will quickly discover this! The brightness of the full moon overwhelms and “blows out” the stars around it. That’s not to say you shouldn’t experiment though–– shooting around the full moon can be great, as the moon lights up the surroundings. Check out this self portrait I took during a full moon in Morocco:
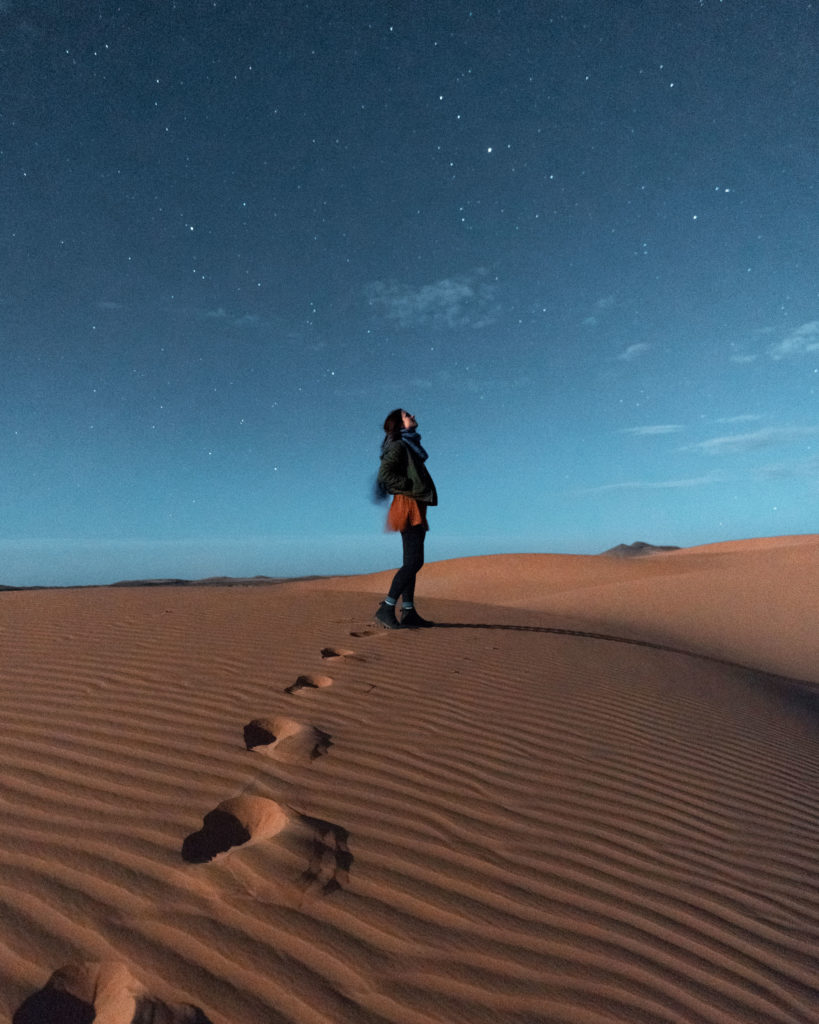
As you can see, the sky in this image doesn’t have nearly as many visible stars, but the trade-off is that you can actually see me and the surrounding sand dunes clearly, which is pretty cool.
The “best” time for star photography is during the new moon… that’s in quotations because, of course, this is subjective. How and when you create your art is up to YOU! But if you’re going for a starry sky, planning to shoot around the new moon will give you what you’re looking for.
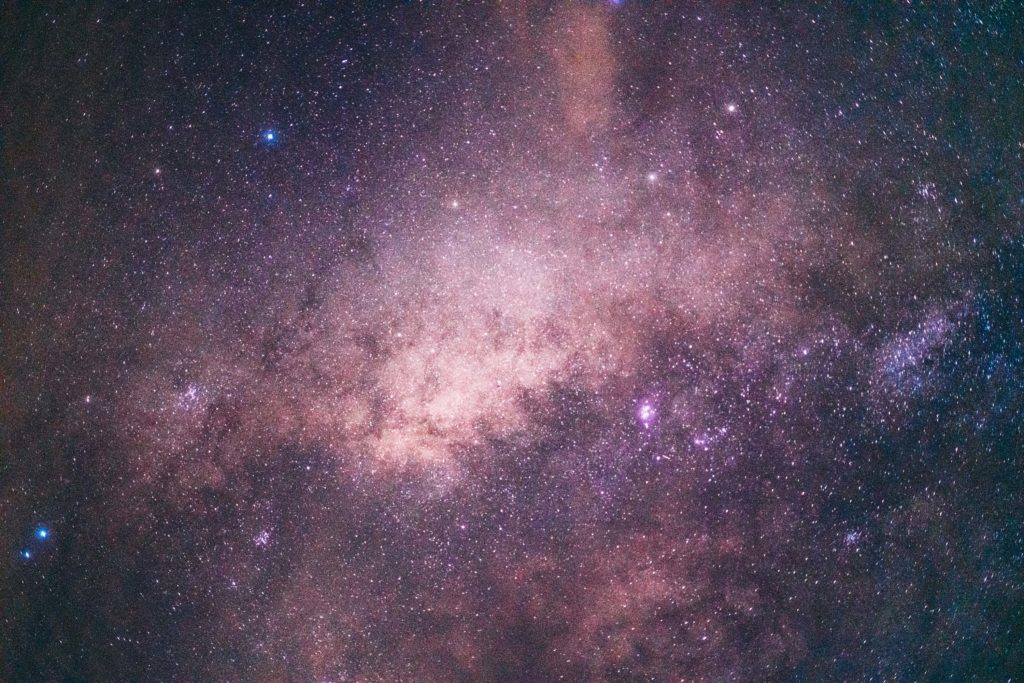
THE STARS: Preparation is key! You’ll want to have an idea what the night sky is going to look like before it even gets dark. Shooting the Milky Way galaxy is rewarding, but you should know that it’s not visible all night, every night! There are plenty of apps you can download that will give you a full picture of the night sky. This can help you to get an idea where and when the Milky Way (and other objects) will be visible in your area.
On the night I made this photo on the Samsung Galaxy S20 Ultra 5G, the Milky Way was visible from about 9:30pm to 1am. I made sure to give myself plenty of time to frame up my shots and experiment with my settings to get it right.
The editing
Don’t worry, you don’t have to do anything toooo wild, but some basic tweaks can give some more depth to your photos! Try bringing up the exposure, increasing contrast, and shifting the white balance. With practice, you will learn what your preferred style for night time photography is.
Hopefully, this gives you a solid base of knowledge for your first astrophotography shoot. I know that some genres of photography feel more intimidating than others, and astro is one of them! It’s not as complicated as it seems, and you’ll get more comfortable with it as you practice.
I recently created some images of the night sky using the Samsung Galaxy S20 Ultra 5G, and was super impressed with how they came out. For a walk-through of my set-up and settings on the phone, and to see my results, check out my episode of Verizon Techxperts below. And for more Techxperts tips, check out Verizon’s YouTube channel here.
More questions about astro? Let me know in the comments.
Please ignore this text box - Recoleta Font


This guide is incredibly helpful for anyone starting in astrophotography! I loved the tips on gear selection and settings; they really clarify what beginners should focus on. Can’t wait to try out the techniques shared, especially the one about tracking star movements. Thanks for making this complex topic more accessible!